Shelly for shutters: the 2.5 guide, HomeKit, and Matter (2026)
2026 update: which Shelly should you use today for a roller shutter?
This tutorial keeps the original Shelly 2.5 installation because it’s still useful for anyone who already has one. For a new installation, the current equivalent is the Shelly 2PM Gen4: it controls bidirectional motors, measures consumption and offers Matter, so it can show up in Apple Home without flashing an alternative firmware.
- If you already have a Shelly 2.5: you can keep it, integrate it into Home Assistant and expose it in Home via HomeKit Bridge, or use HAA if you know exactly which firmware you’re installing.
- If you’re buying a new one: I’d go for the Shelly 2PM Gen4 for Matter and its dedicated roller shutter mode. Don’t just copy the 2.5’s wiring without checking the new model’s diagram.
Safety: a roller shutter works with mains voltage. Cut the power, verify there’s no voltage present, and call an electrician if you can’t safely identify live, neutral, up and down wires.
At the request of my namesake and creator of this interesting blog, I’m going to try to explain how I automated my home’s roller shutter motors. It all goes back a few years, to one of those after-dinner chats, while our wives caught up, we were talking about a bit of everything (tech, cars, motorbikes, …) At some point, I mentioned to Carlos that I’d like to remotely control the shutters at home since they were motorized but only had physical switches. All of this in order to control sunlight on summer and winter days, make it look like there’s movement in the house to deter burglars, keep the window glass from getting stained if it rains and there’s no one home to lower the shutters (this is actually my main need, but that’s down to my OCD), etc. Back then, my idea was to use Arduinos, relays, wifi shields, but that meant too much infrastructure plus electronics knowledge and so on.
Buying and installing the gadget
Over time, simpler and more powerful devices started popping up, like the Shelly 2.5, which my namesake recommended to me about a month ago as a result of a comment on this very blog. After a few hours of research and watching videos available online, I decided to buy a couple to give it a try since it’s not overly expensive at €19.99/unit , here’s the link where I bought mine.
Sometimes someone writes to me saying they’re interested in automating a shutter that’s currently «analog,» meaning it has no motor and is raised and lowered manually, but they don’t know where to start, which motor to get, etc. In that case, if what you’re looking for is the shutter motor itself so that later you can fit a Shelly and flash it to make it HomeKit compatible, one of the best recommendations is to talk to the folks at MotoresPersianas.com, who have always treated me great.
Now that we’ve set the scene, let’s get to it. After the purchase, I only had to wait a week for the package to arrive from Bulgaria. That same day I already installed one of them, but I don’t have photos of that installation, so I’ll walk you through the second installation, in my son’s room. The tools needed are few: a ladder, a screwdriver, electrician’s scissors, a wire stripper if you have one, connector blocks if your junctions are already very crowded, and ideally multi-colored electrical wire (not my case, as you’ll see below). Once everything was ready, I set out to open the junction box near the shutter boxes. Here’s what I found (click on the images to see them full size):

The two white cable bundles with several wires inside are the ones going to the shutter motors. You can see there are 4 wires: neutral (blue), earth ground to protect the installation (yellow/green), and brown and black (these are for raising and lowering the shutter, but don’t ask me which is which because I never identified them). As for the part going down to the switches, we have the live wire coming in a gray cable which runs down to them, and then from the switch two wires go back up, one brown and one black, corresponding to up and down, which were spliced with the ones from the cable bundle mentioned earlier. So, looking at the Shelly 2.5 wiring diagram:

We need to place the device between the switch wires and the ones going to the motor, fig.2.
Testing the connections
Before touching anything, I recommend switching off the circuit breaker if you have it zoned, or if not, the main residual-current device. This way you’ll avoid an accidental shock or spark if you want to measure voltage with a tester and don’t do it correctly…
Once it was clear how to wire it, my strategy was to power it with only the live and neutral wires first, just to check the device worked:
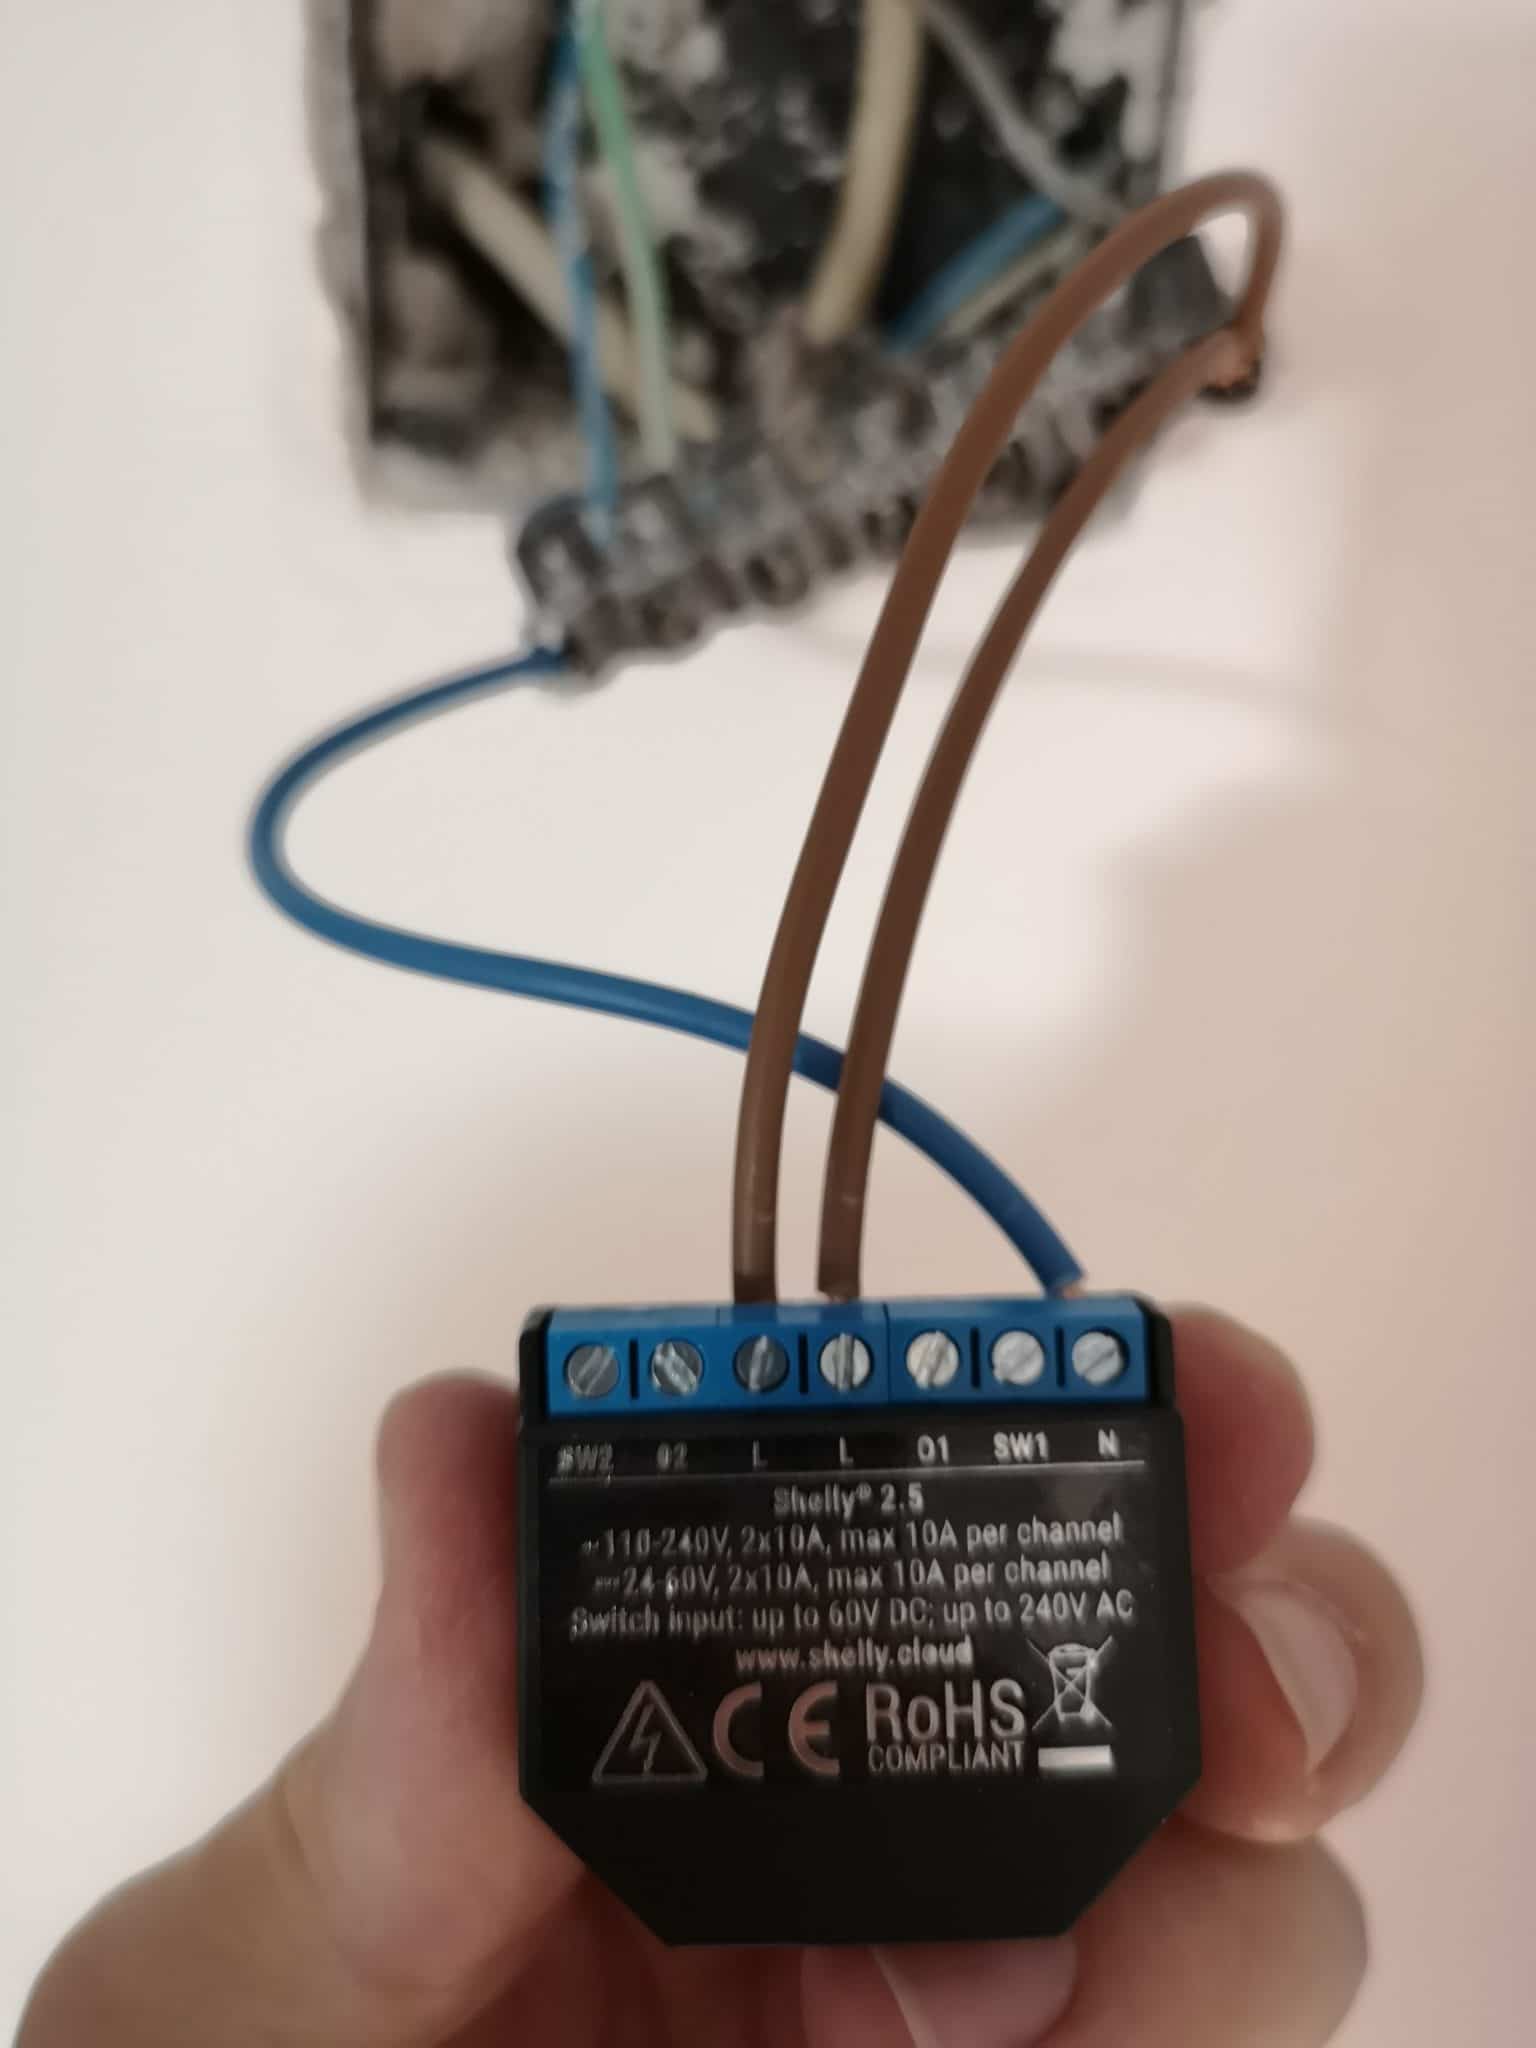
Once connected and with the breaker back on, a blinking red light appears on the back indicating it’s correctly powered:

Good, so we switch the power off again and proceed to connect the wires coming up from the switches to the SW1/SW2 inputs, and the ones going to the motor into O1/O2. Watch out, the color of the input must match the output. As you can see, I didn’t have a black wire and had to mark a piece of brown wire to identify it as my «black»…
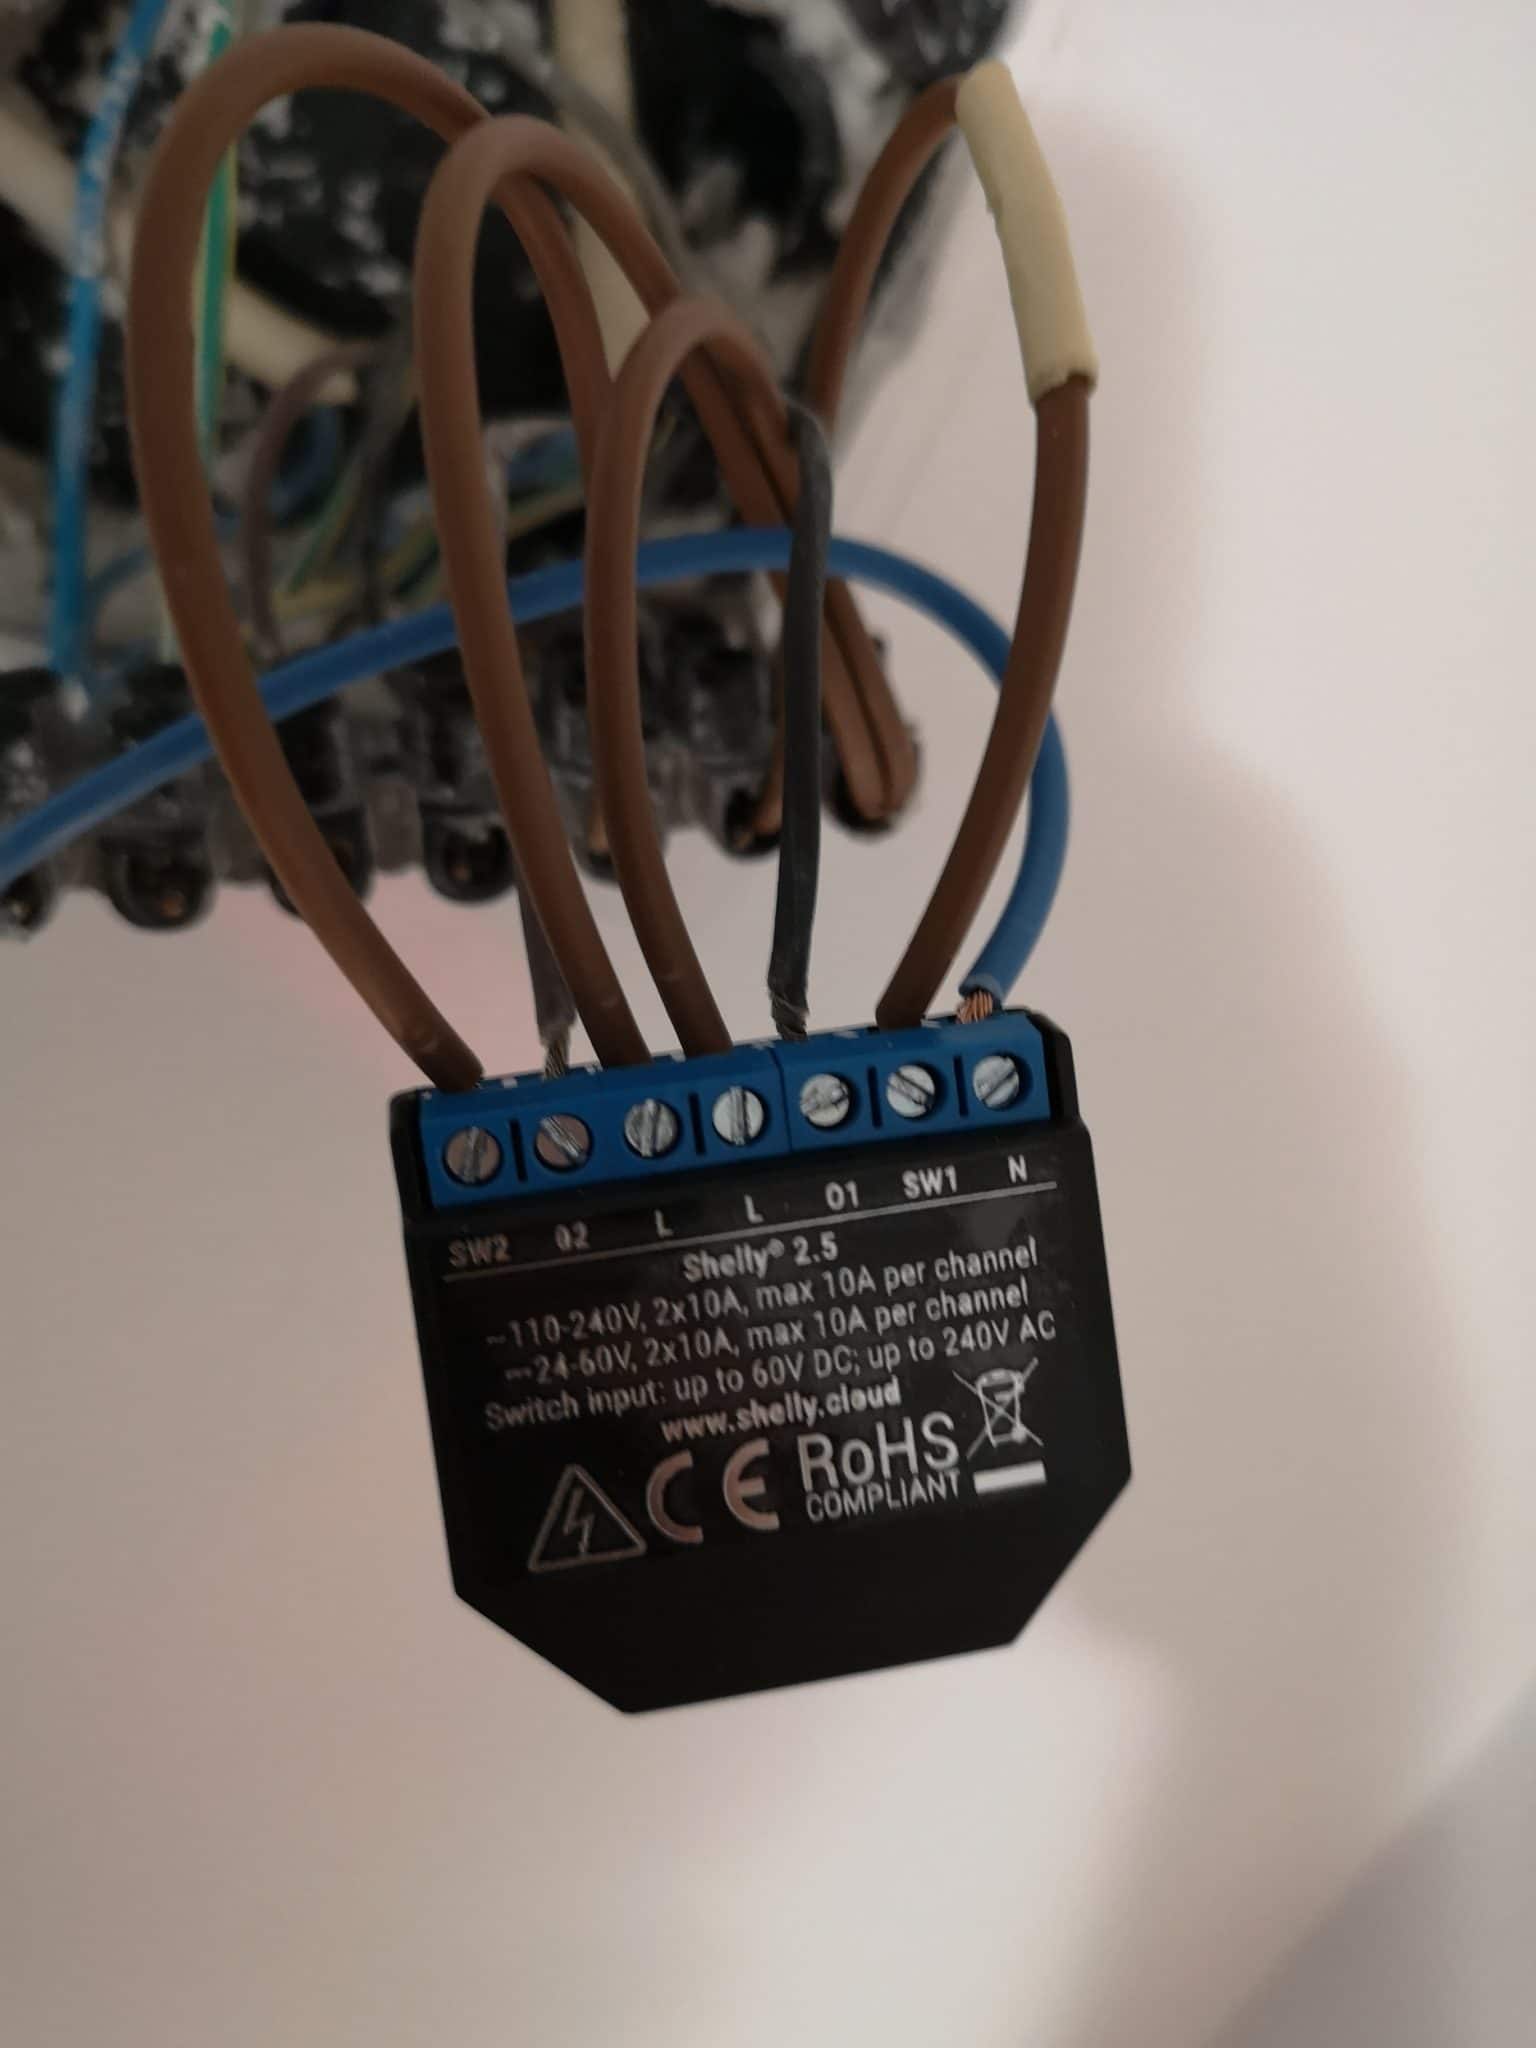
We switch the power back on, nothing explodes and the breaker doesn’t trip… Looks like it’s going to work! The real test is trying the switches, and I confirm they work just like before. Nice going, Carlos! So I download the Shelly app and this is where the device configuration begins, already sitting on the couch 🙂
Configuring the Shelly 2.5 from the App
Inside the app, the first thing we’ll do is create a room where we’ll place the new device. To do this, we go to the app’s menu and tap Add Room, set a name, choose or upload an image, and save.

Next, we go back to the menu and this time add one of the devices:

If all goes well, it should tell us a device has been detected, as we can see below:

We tap Add and it’ll ask us to select our home wifi network. Watch out, it must be 2.4 GHz and not 5 GHz, then it’ll ask for the wifi password, and once entered it’ll proceed to connect to the device in order to link it to our network:

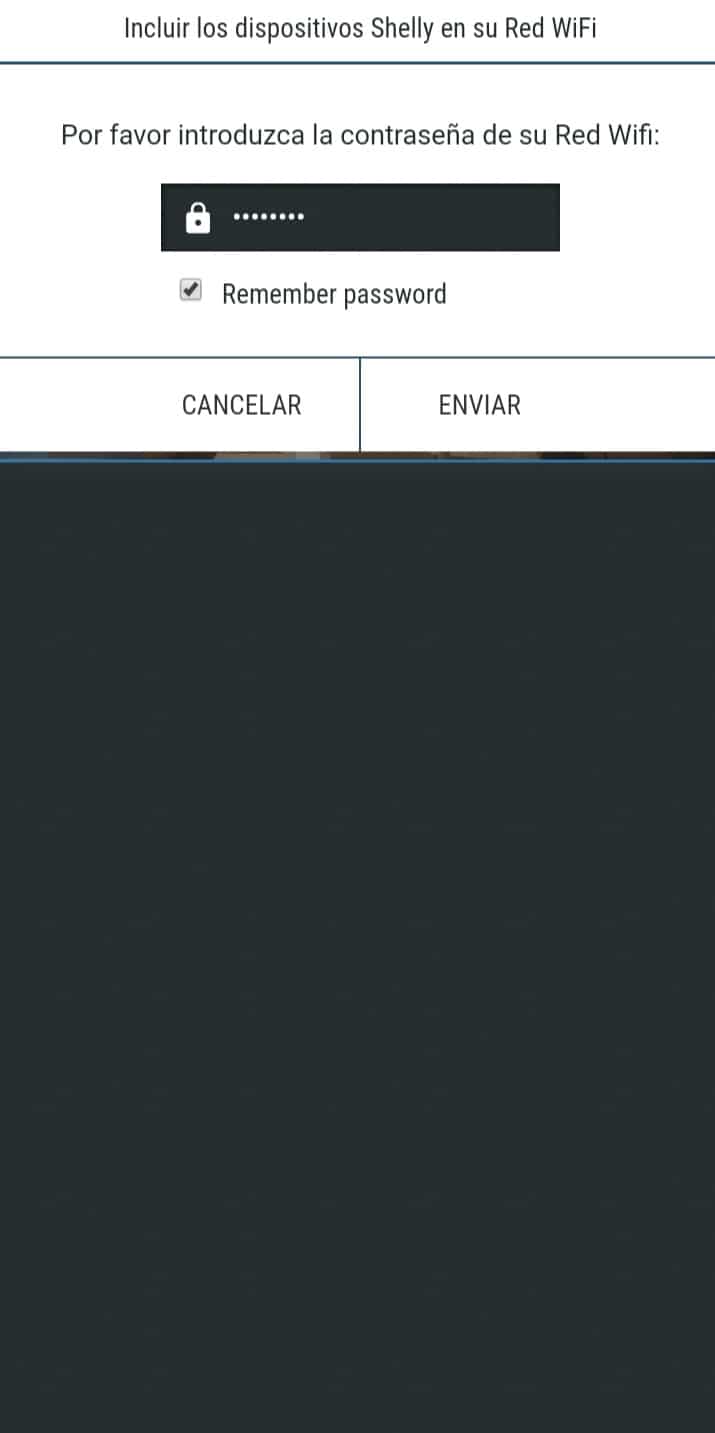


Once that’s done, it asks if we want to add the device to the cloud so we can control it from outside the house. I do want that, as I mentioned at the start of the article, although I’m not a fan of sharing my password with strangers.
In this first phase we’ll leave it like this, although the future idea is to connect these shutters to HomeKit or some similar platform to have everything centralized in the same app and be able to create complex rules. Still, if you’re not too keen on the idea of Shelly’s folks having your wifi password in some way, you could create a guest network and put these devices on it. If you want to know more about how to set up a guest network, let us know in the comments, and that’ll give us ideas for future posts 🙂
After adding the wifi network, the gadget runs a check to see if it has the latest firmware available and, if it doesn’t, it lets us know and allows us to update it, which is what happened to me:

As we well know from this blog, we need to keep all our devices on the latest firmware version if we don’t want a security hole in our homes… it can sometimes be a hassle to check connected devices to see if they’re updated or not, since we might think they’re working fine anyway, but firmware updates usually include security patches and new features, so not having the latest firmware installed could let someone access our network or make us miss out on some interesting feature we didn’t have at the time of purchase.
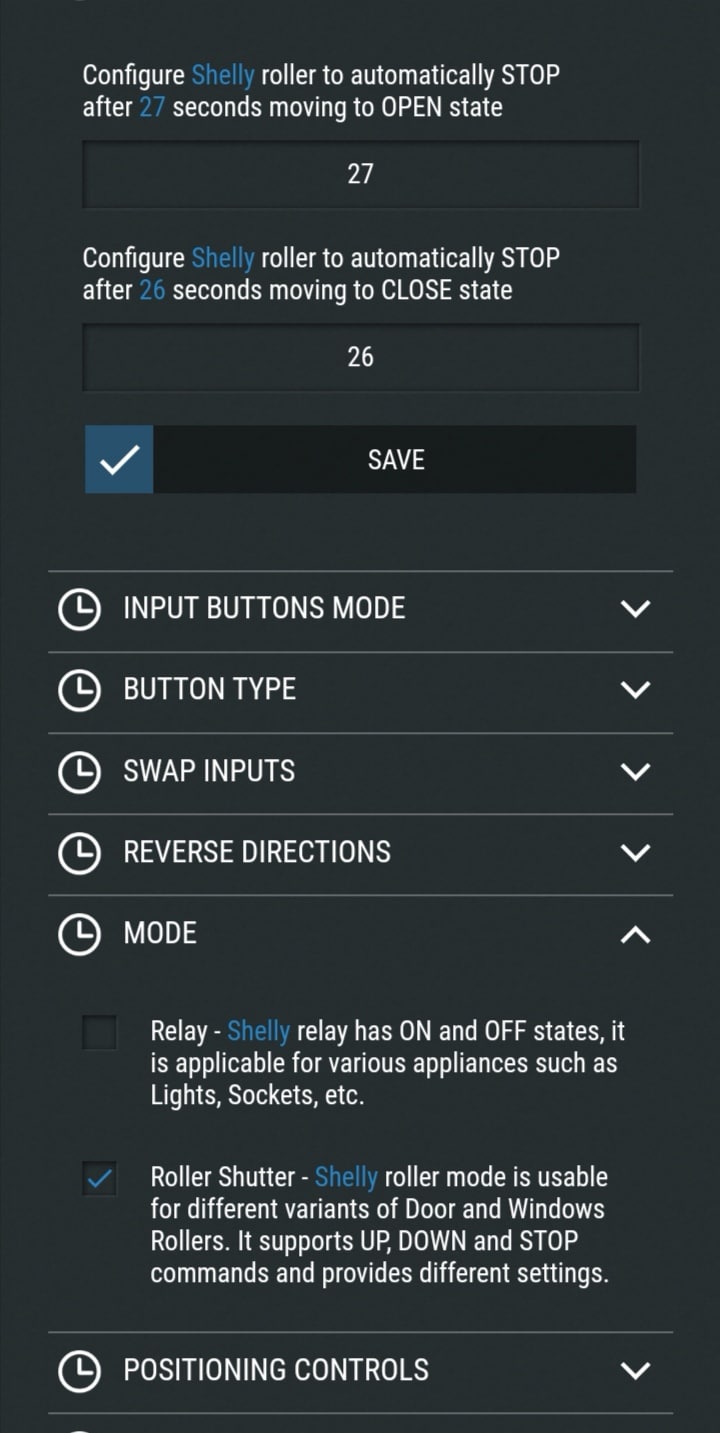
If everything goes as it should, all that’s left is to configure the device so it behaves the way we want. So far I’ve only set them up to go up at sunrise and come down at sunset. To do this, inside Settings / Open Close Working Time you need to perform a calibration in which the shutter will go down and up several times. With this process the device calculates how long it takes to go up and down, as well as defining the shutter’s opening percentages. In Time Zone and Geo-Location you need to set our location so it can calculate sunrise and sunset, presumably by querying some web service that has that information — don’t worry, you won’t have to change the schedule across the different seasons of the year or when clocks change, since all of this is calculated automatically. And finally, inside the weekly schedule, add the action to raise or lower at a fixed set time, or a variable one like sunrise or sunset. Here are some screenshots of the settings so you can see the range of possibilities:


And that’s all I can tell you. I’ll just say that for me this has been the best tech discovery of 2019, thanks to this blog. If you have any doubts or questions, don’t hesitate to ask him or me 😉
How to bring an old Shelly 2.5 to Apple Home
The Shelly 2.5 doesn’t offer native HomeKit or Matter. In my current setup I prefer to integrate it into Home Assistant and expose only the necessary entities via HomeKit Bridge. The alternative is to install a firmware like HAA following this guide, knowing it’s an unofficial modification and that you should keep a recovery path available.
UPDATE 08/06/2021
After several questions in the comments about how to set up a Shelly 2.5 if you don’t have physical switches on the wall, only a wireless remote, and thanks to Eduardo’s contribution in his comment from 04/16/2021. Here’s a video where he explains to a friend (Emil) how to solve the problem. In short, and without having tried it myself in my own setup, he mentions cutting the two white wires on the board that correspond to the switch. Since they won’t be used, we take advantage of them so we don’t have to run 2 extra wires into the motor. In turn, the cut wires need to be soldered to the limit switches, and on the other end of the cable, already outside the motor, each one is connected to the O1 and O2 outputs. But since they say a picture is worth a thousand words, here’s his video: