Flash a Shelly for HomeKit over OTA: step-by-step guide
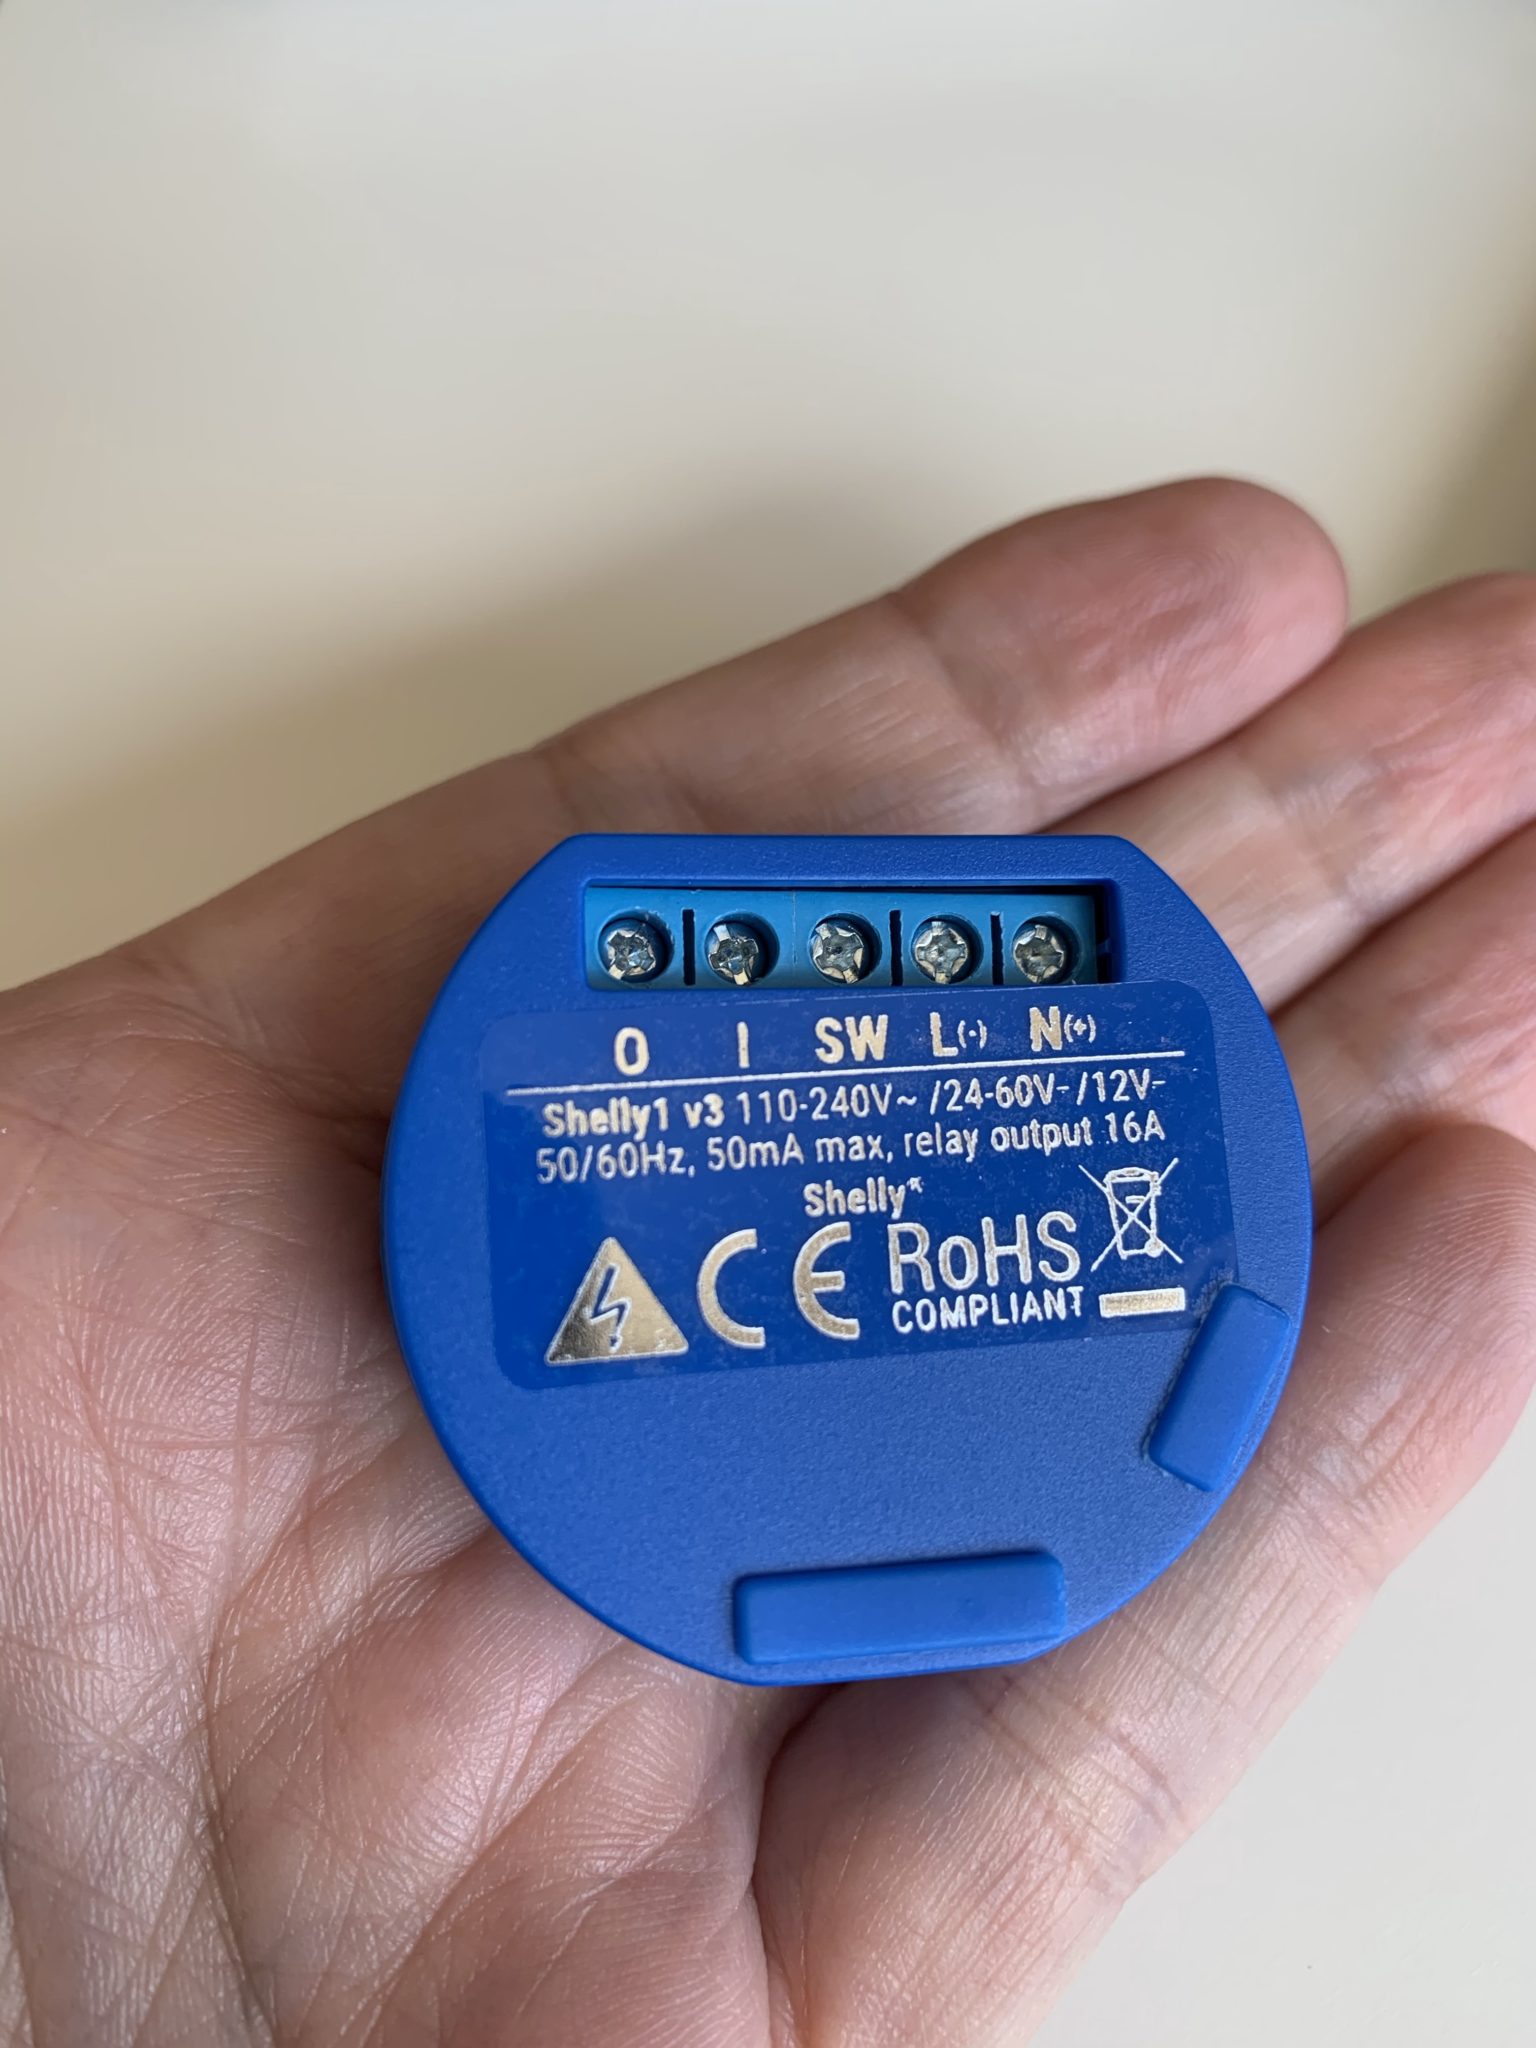
We’ve already talked before about how useful a Shelly smart relay can be. If you’ve landed on this post, chances are I don’t need to explain what it is, so we’re going to focus on how to flash Shelly for Apple HomeKit.
What is Shelly?
Alright, let’s assume not everyone lands on this page for the same reason, so I’ll explain what a smart relay is: Imagine you have a smart bulb in a ceiling lamp. You leave the switch on and can turn the bulb on and off perfectly fine from your phone, an automation, or with your virtual assistant… but what happens when someone who doesn’t know it’s a smart bulb flips the switch to turn it on? Well, two things happen… first, it doesn’t turn on, since the switch was already in the ON position and was already powering the bulb even though it was off (smart bulbs don’t actually turn off, they just set brightness to 0%), so flipping the switch cuts power to the bulb… and of course it disconnects from whichever app you’re using. What usually happens is that person flips the switch again (kind of like when the document we sent to print doesn’t come out of the printer… and we just hit print again instead of figuring out why it didn’t come out the first time), which restores power to the bulb but it goes back to its previous state, which is off… and that person ends up shouting from the other end of the house that the bulb has burned out.Shelly is a smart relay that handles this situation by ‘bridging’ the switch and turning it into a ‘smart’ one. If you tell the switch you want to turn on the bulb, Shelly sends power to the bulb, but if you tell it from the app, it sends it too! In other words, you can keep your good old regular switch working for whoever uses it, while also keeping your automations or voice commands, because that bulb will never lack power.
And all of this in a super tiny space that you can fit behind the outlet or in the junction box… for less than €11! Pretty cool, right?

Why flash it?
I won’t go too deep into this topic since we’ve covered it before, but Shelly doesn’t support Apple HomeKit natively. It used to be compatible, but it seems Apple pulled Shelly’s certification (probably over money issues, license fees, or something along those lines) and the Shelly folks are trying to get it back… but right now they’re not compatible with HomeKit. They are compatible with Google Home and Amazon’s Alexa, so if you use those assistants, you don’t need to keep reading 😀
You can skip the hassle and just buy them already flashed, you know? We’ve mentioned before the already-flashed Shellys available on Amazon, but the price goes up a bit compared to buying it yourself and flashing it. A completely valid option, but first read through this whole post so you can see how simple the process is 🙂That said, it’s possible to download a firmware that makes Shelly devices (all of them) compatible with Apple HomeKit, so you just need to flash each of your devices for them to start showing up in Apple’s Home app.
IMPORTANT!!: Once you flash the device with the new firmware, it will stop being compatible with other assistants and with the Shelly app, so you’ll have to set up all your automations from Home. This doesn’t bother me at all, honestly I prefer it, since that way there’s no need to have the Shelly app installed.
Going back to the original firmware
To put your mind at ease, I’ll tell you that if at some point you want to flash your Shellys again to use them from their native app or integrate them with other voice assistants, it’ll be as simple as reinstalling the original firmware, which you can download from the official page, no problem 🙂
Flashing the Shelly
It’s a very simple process, don’t worry. The first thing you need to do is power up the gadget if you haven’t already installed it. If you’ve already installed it in place and just want to add HomeKit support, you can skip this step, no need to take it out of wherever it is. In my case, I powered it using the cable from an old power strip:


Other Shelly devices
If you have a Shelly 2.5 like the one we talked about in the post on how to automate blinds, or any other type of Shelly device, you can flash it in a similar way:Shelly 1: http://A.B.C.D/ota?url=http://rojer.me/files/shelly/shelly-homekit-Shelly1.zip
Shelly 1PM: http://A.B.C.D/ota?url=http://rojer.me/files/shelly/shelly-homekit-Shelly1PM.zip
Shelly 2: http://A.B.C.D/ota?url=http://rojer.me/files/shelly/shelly-homekit-Shelly2.zip
Shelly 2.5: http://A.B.C.D/ota?url=http://rojer.me/files/shelly/shelly-homekit-Shelly25.zip
Shelly Plug S: http://A.B.C.D/ota?url=http://rojer.me/files/shelly/shelly-homekit-ShellyPlugS.zip
¿Necesitas ayuda con tu domótica?
Te ahorro tiempo, dinero y disgustos. Sesiones de consultoría desde 60€.