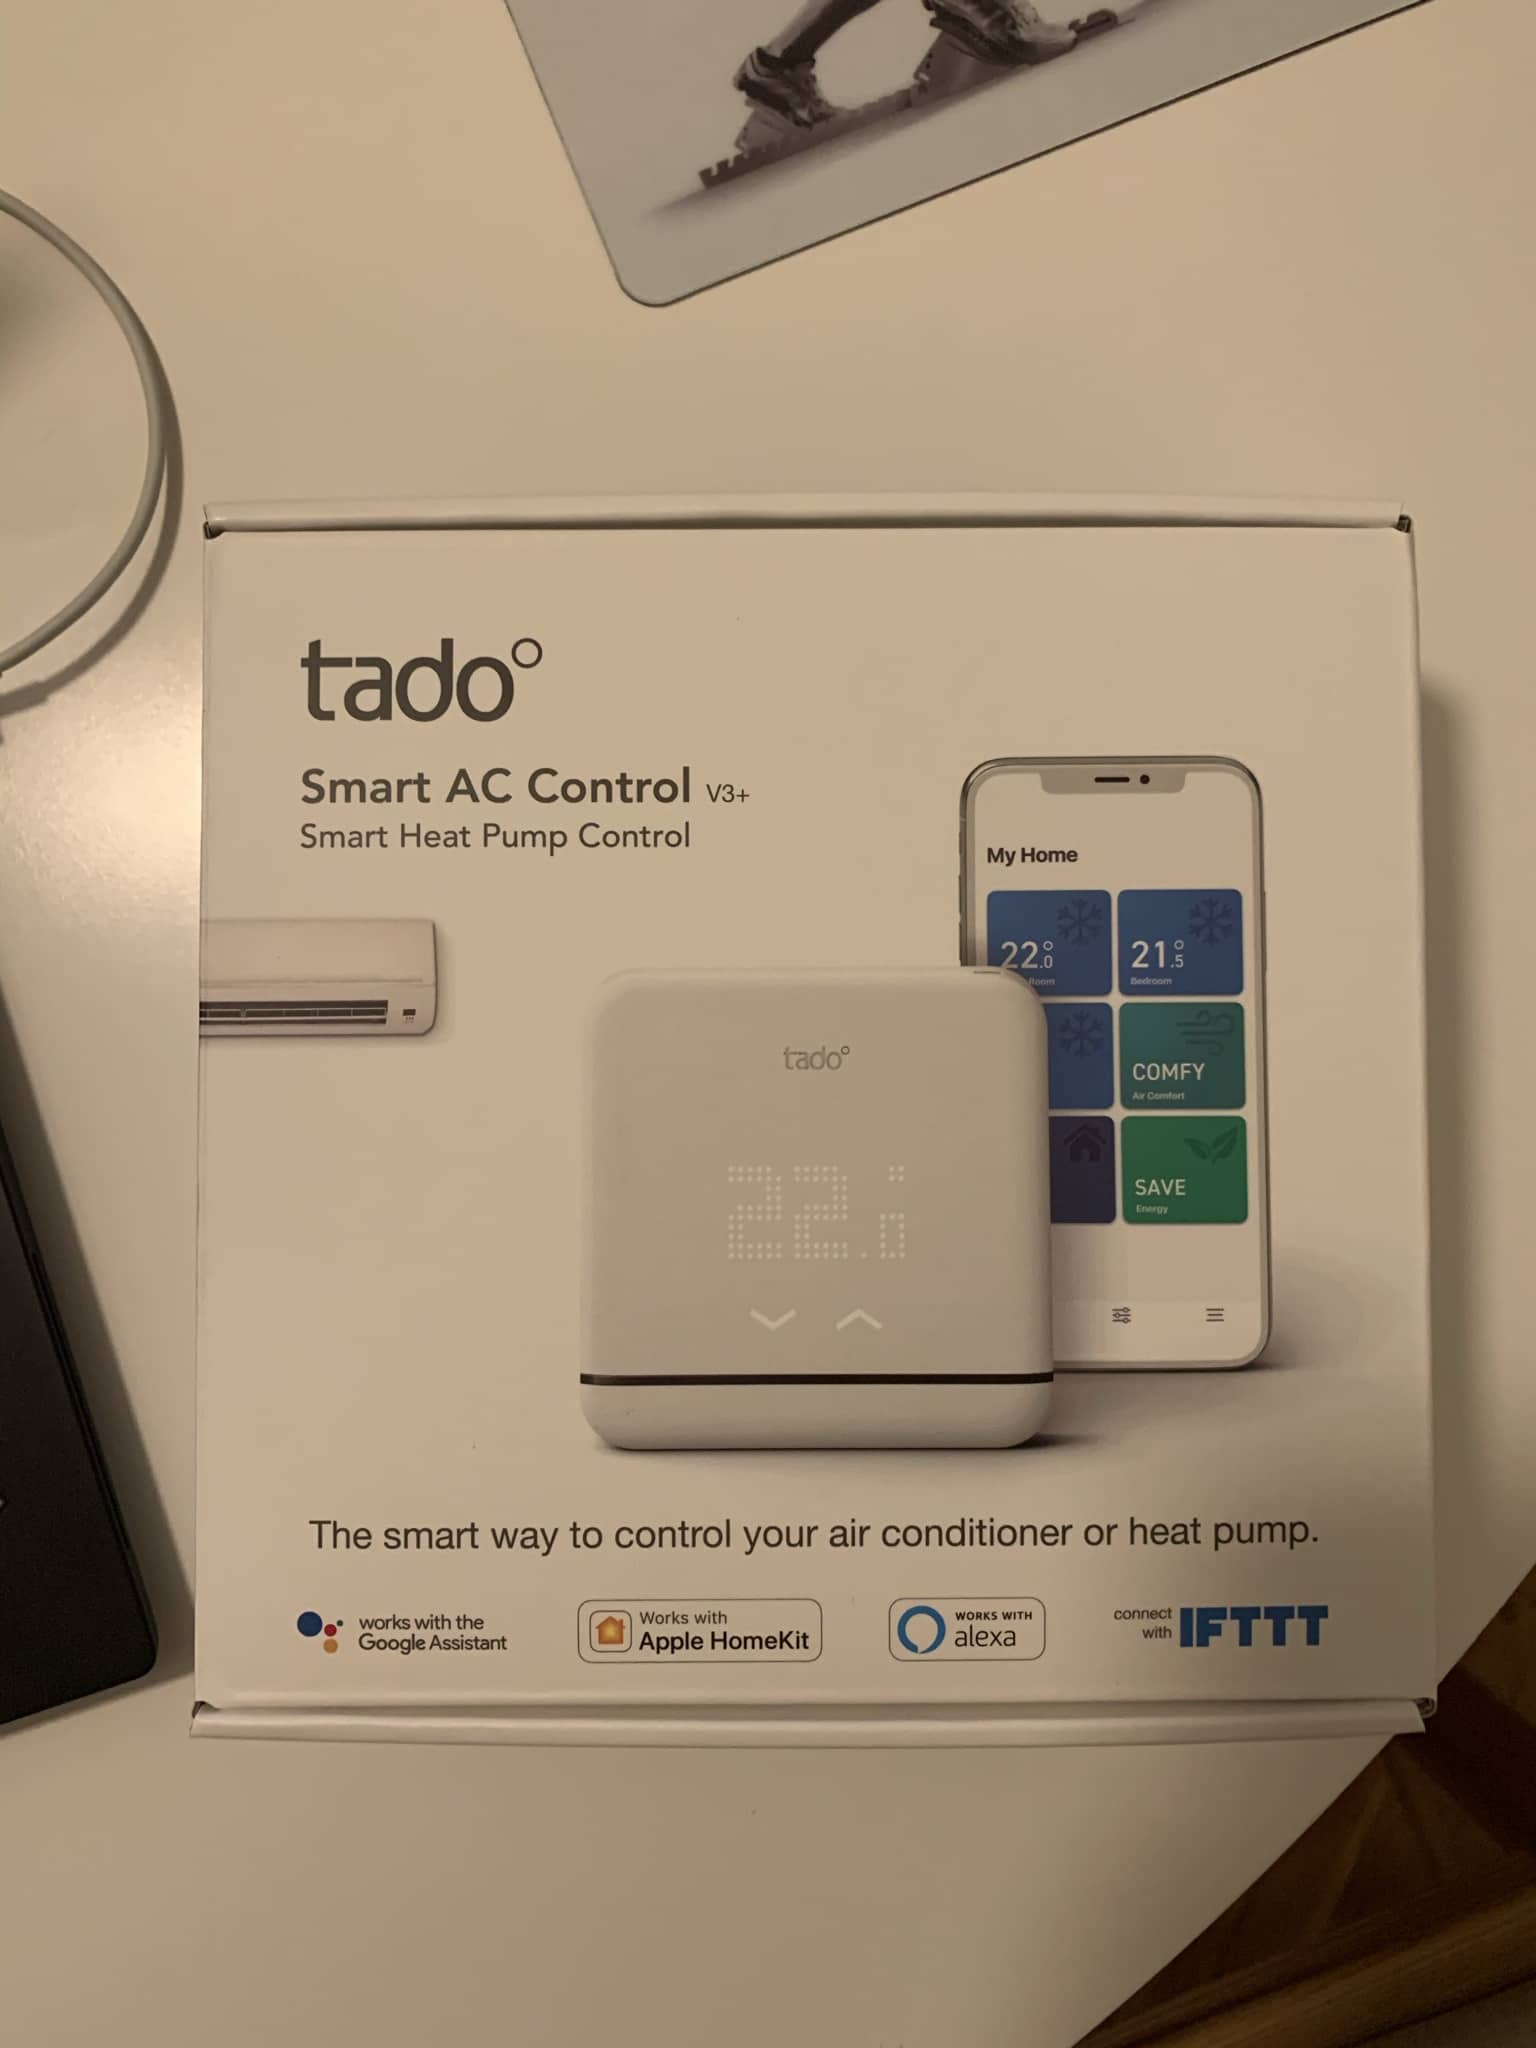
Most Air Conditioning units on the market can be programmed to turn on and off at a set time, but if you want to take it a step further and be able to automate on/off actions and decisions, or ask your voice assistant to lower the temperature by another 2 degrees, in this post I’m going to tell you how to integrate air conditioning into HomeKit with Tado v3+.
First of all, I should say that there are cheaper solutions than Tado for turning your split air conditioning unit into a ‘smart’ or connected gadget. Some people do it through Broadlink, which also lets you connect other IR-controlled devices like your TV, robot vacuum, etc., and then integrate it with HomeKit through free and open solutions like HomeBridge. You kill several birds with one stone in terms of automation, but integrating with HomeKit through a middleman platform doesn’t quite convince me—I don’t want more gadgets running at all times at home, even though HomeBridge can run on a Raspberry Pi or on a Synology NAS, for example, so if you already have these gadgets at home you won’t need to add anything else.
As you already know, whenever possible, I try to make sure all the devices in my home are natively compatible with HomeKit. Flashing a device, as we did with the Shelly units, is one thing, but having to install a whole integration platform is another, so I prefer to look for devices that integrate in a simpler way… like Tado v3+.
Also, on another note, there are rumors that Tado is going to unveil a new device at this year’s IFA (2020, the year of COVID-19), so the current model is on sale. I bought mine a couple of months ago for €88 thanks to an earlier deal, and at the time of writing this post it’s at its all-time lowest price on Amazon: €72.
Before we dive in, I have to mention there’s one important BUT or CON: it doesn’t allow you to have ‘satellites’ to control multiple units, so if you have 2 air conditioning units in different rooms you’ll need to buy 2 Tados. It’s true that they then integrate without issues and you can automate actions separately or ask your voice assistant to turn one of them on and set it to whatever temperature… but 72€ x 2 will make you think twice before buying. If you only have 1 unit, it doesn’t seem so expensive.
There are more ‘buts’ that I see, but I’ll tell you about those later 🙂
Physical Installation
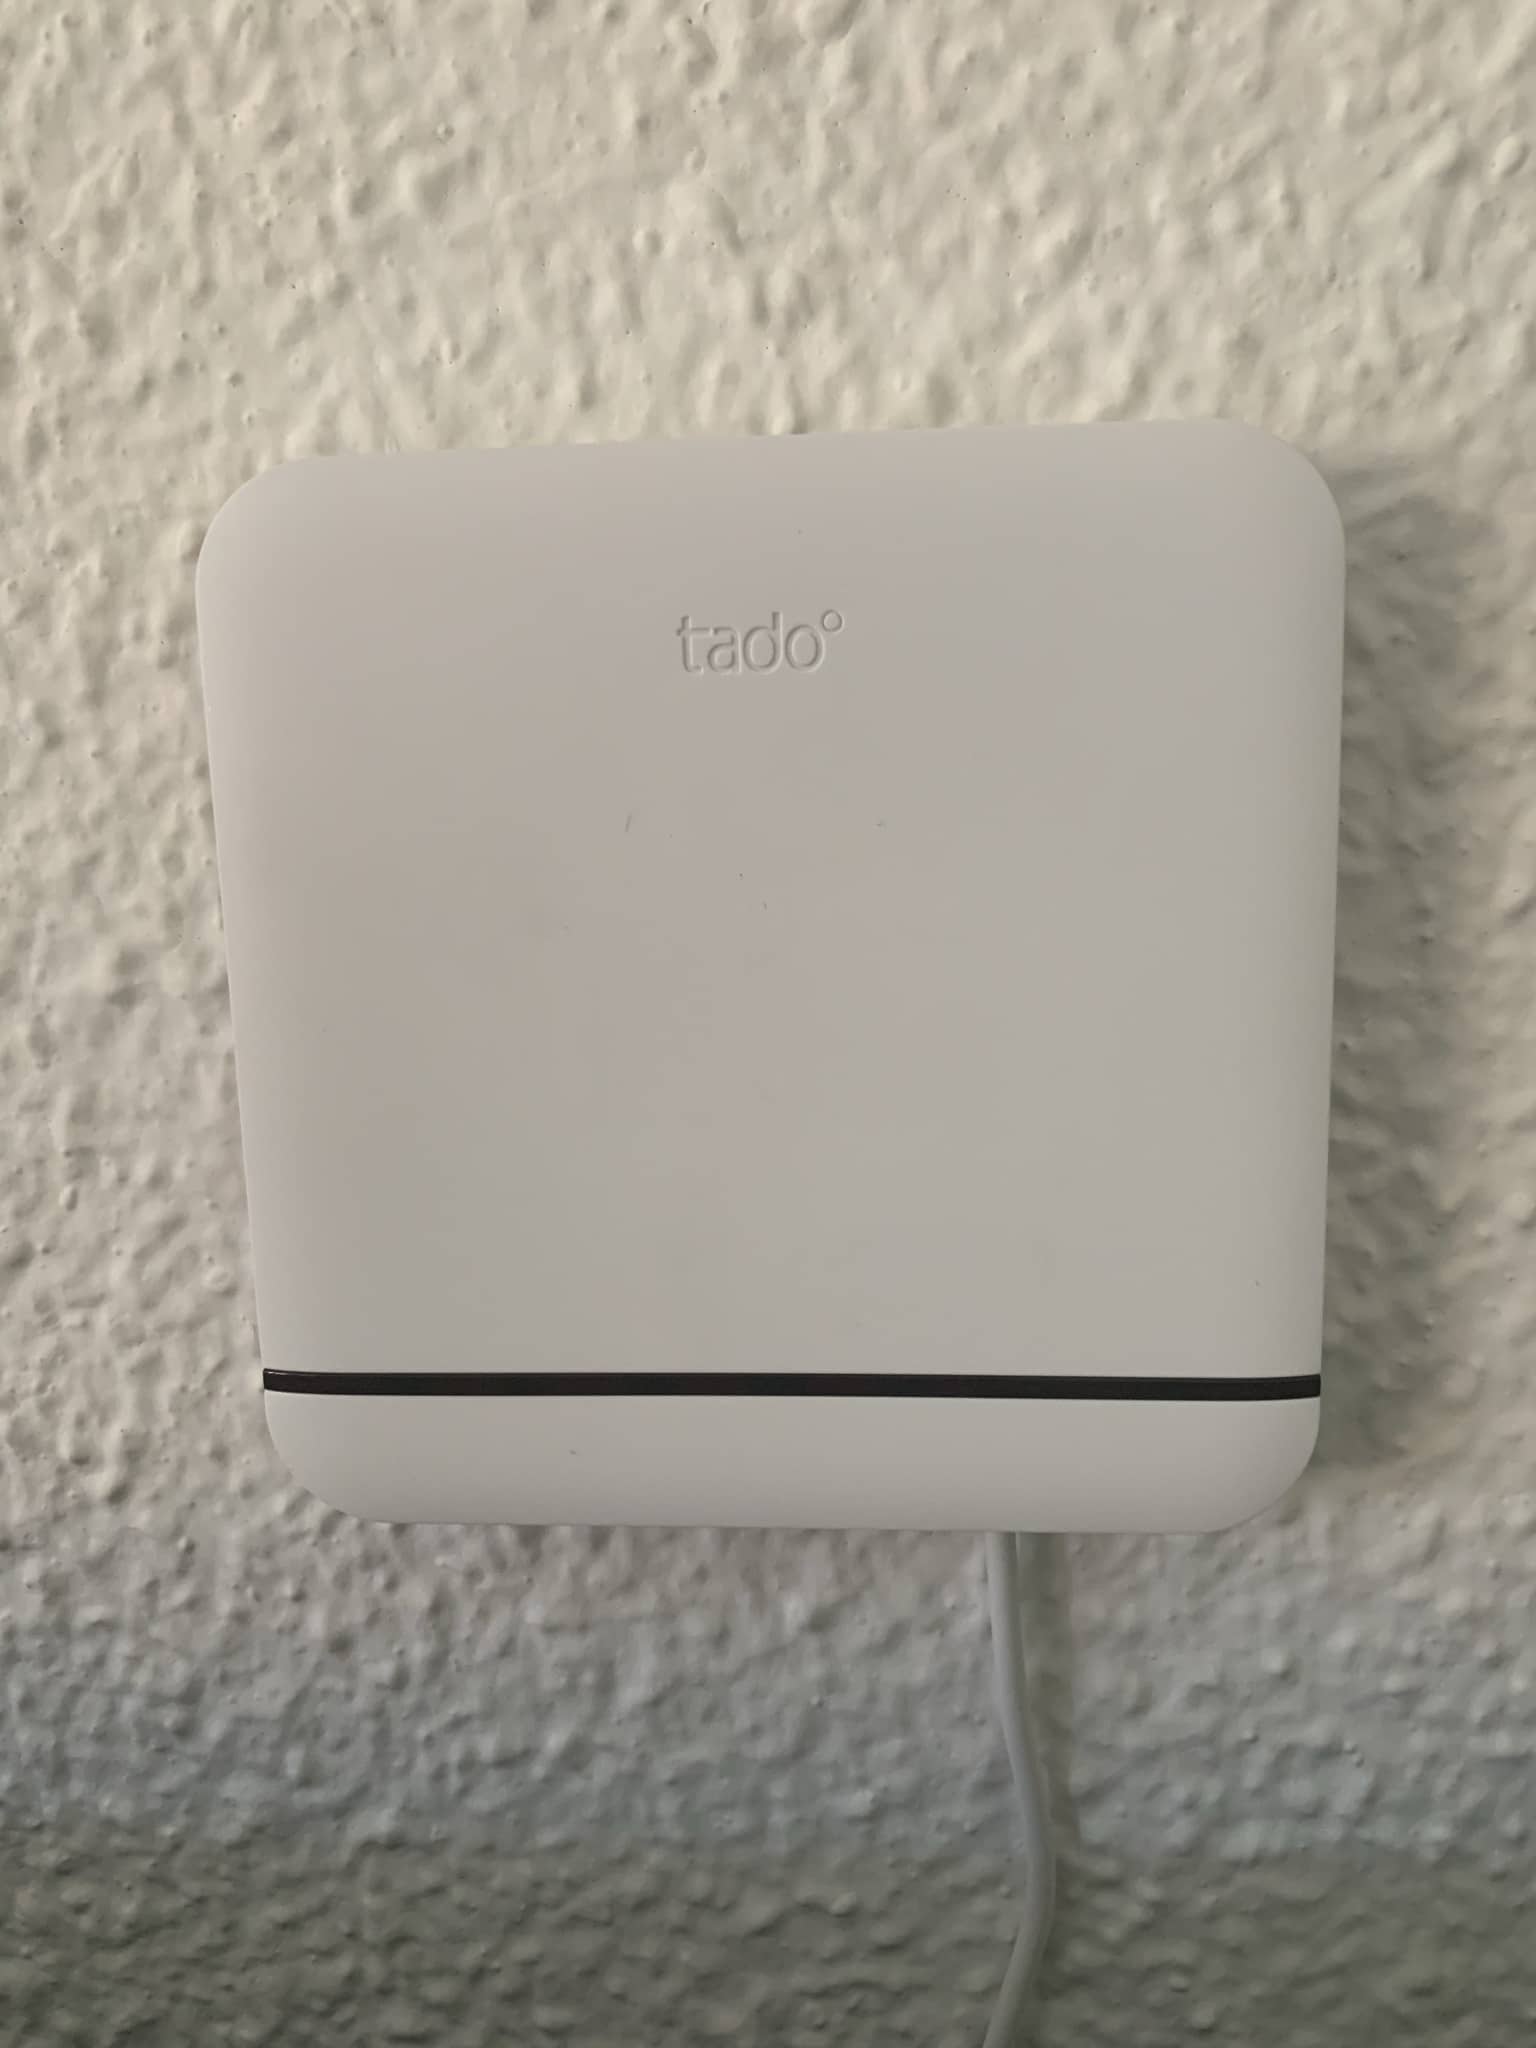
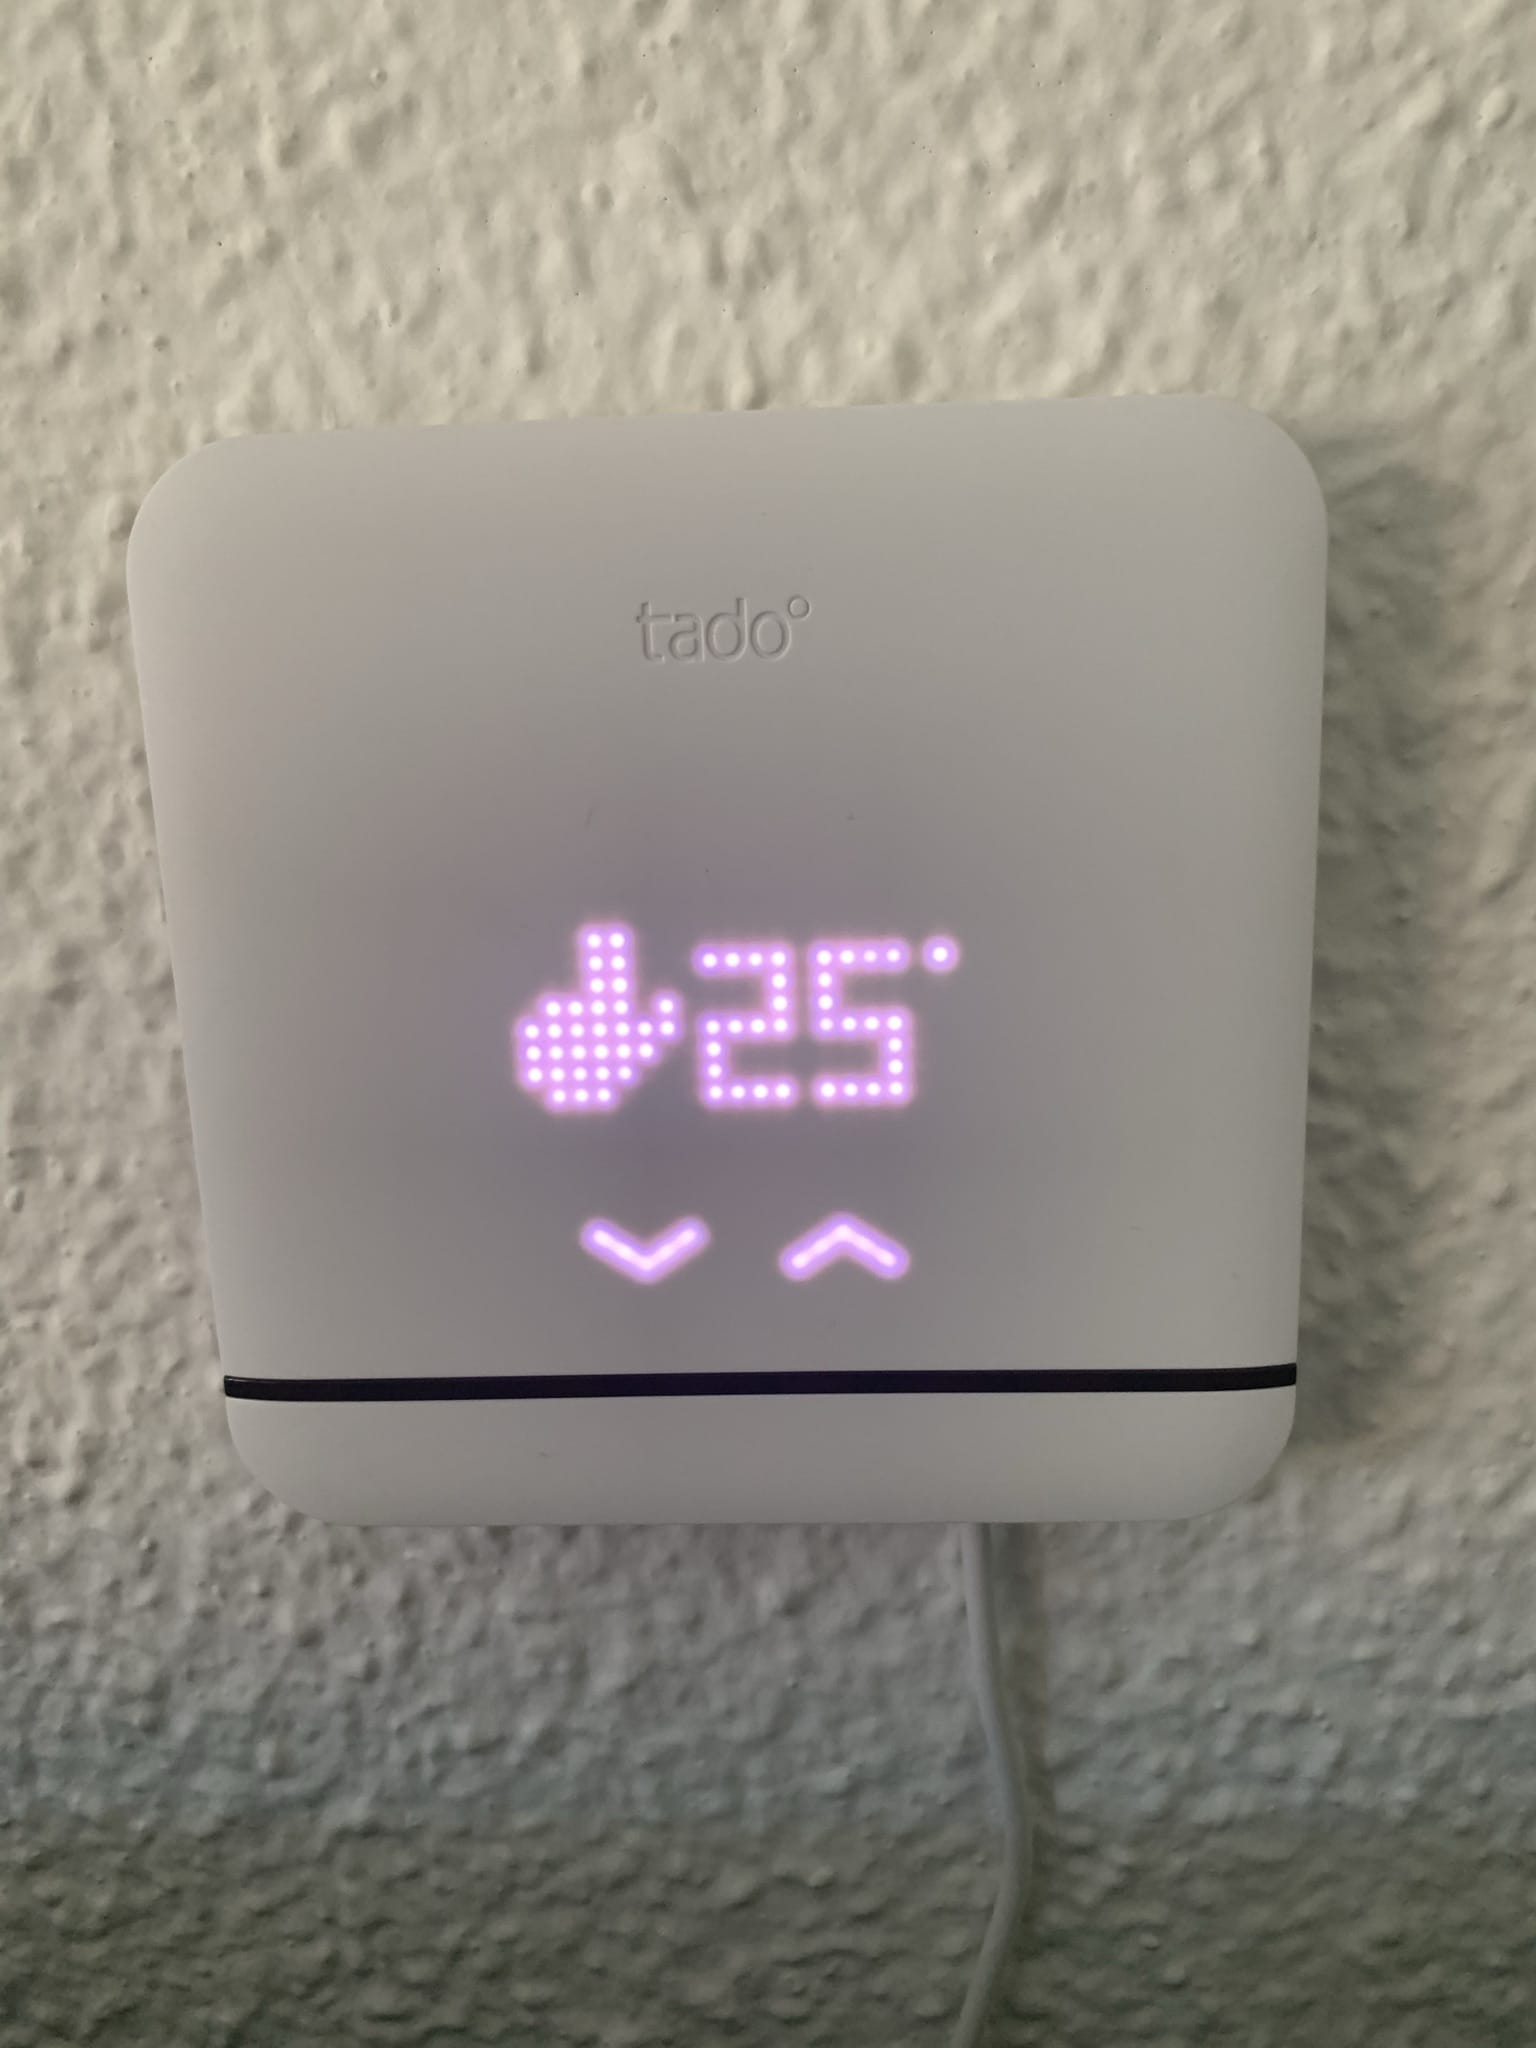
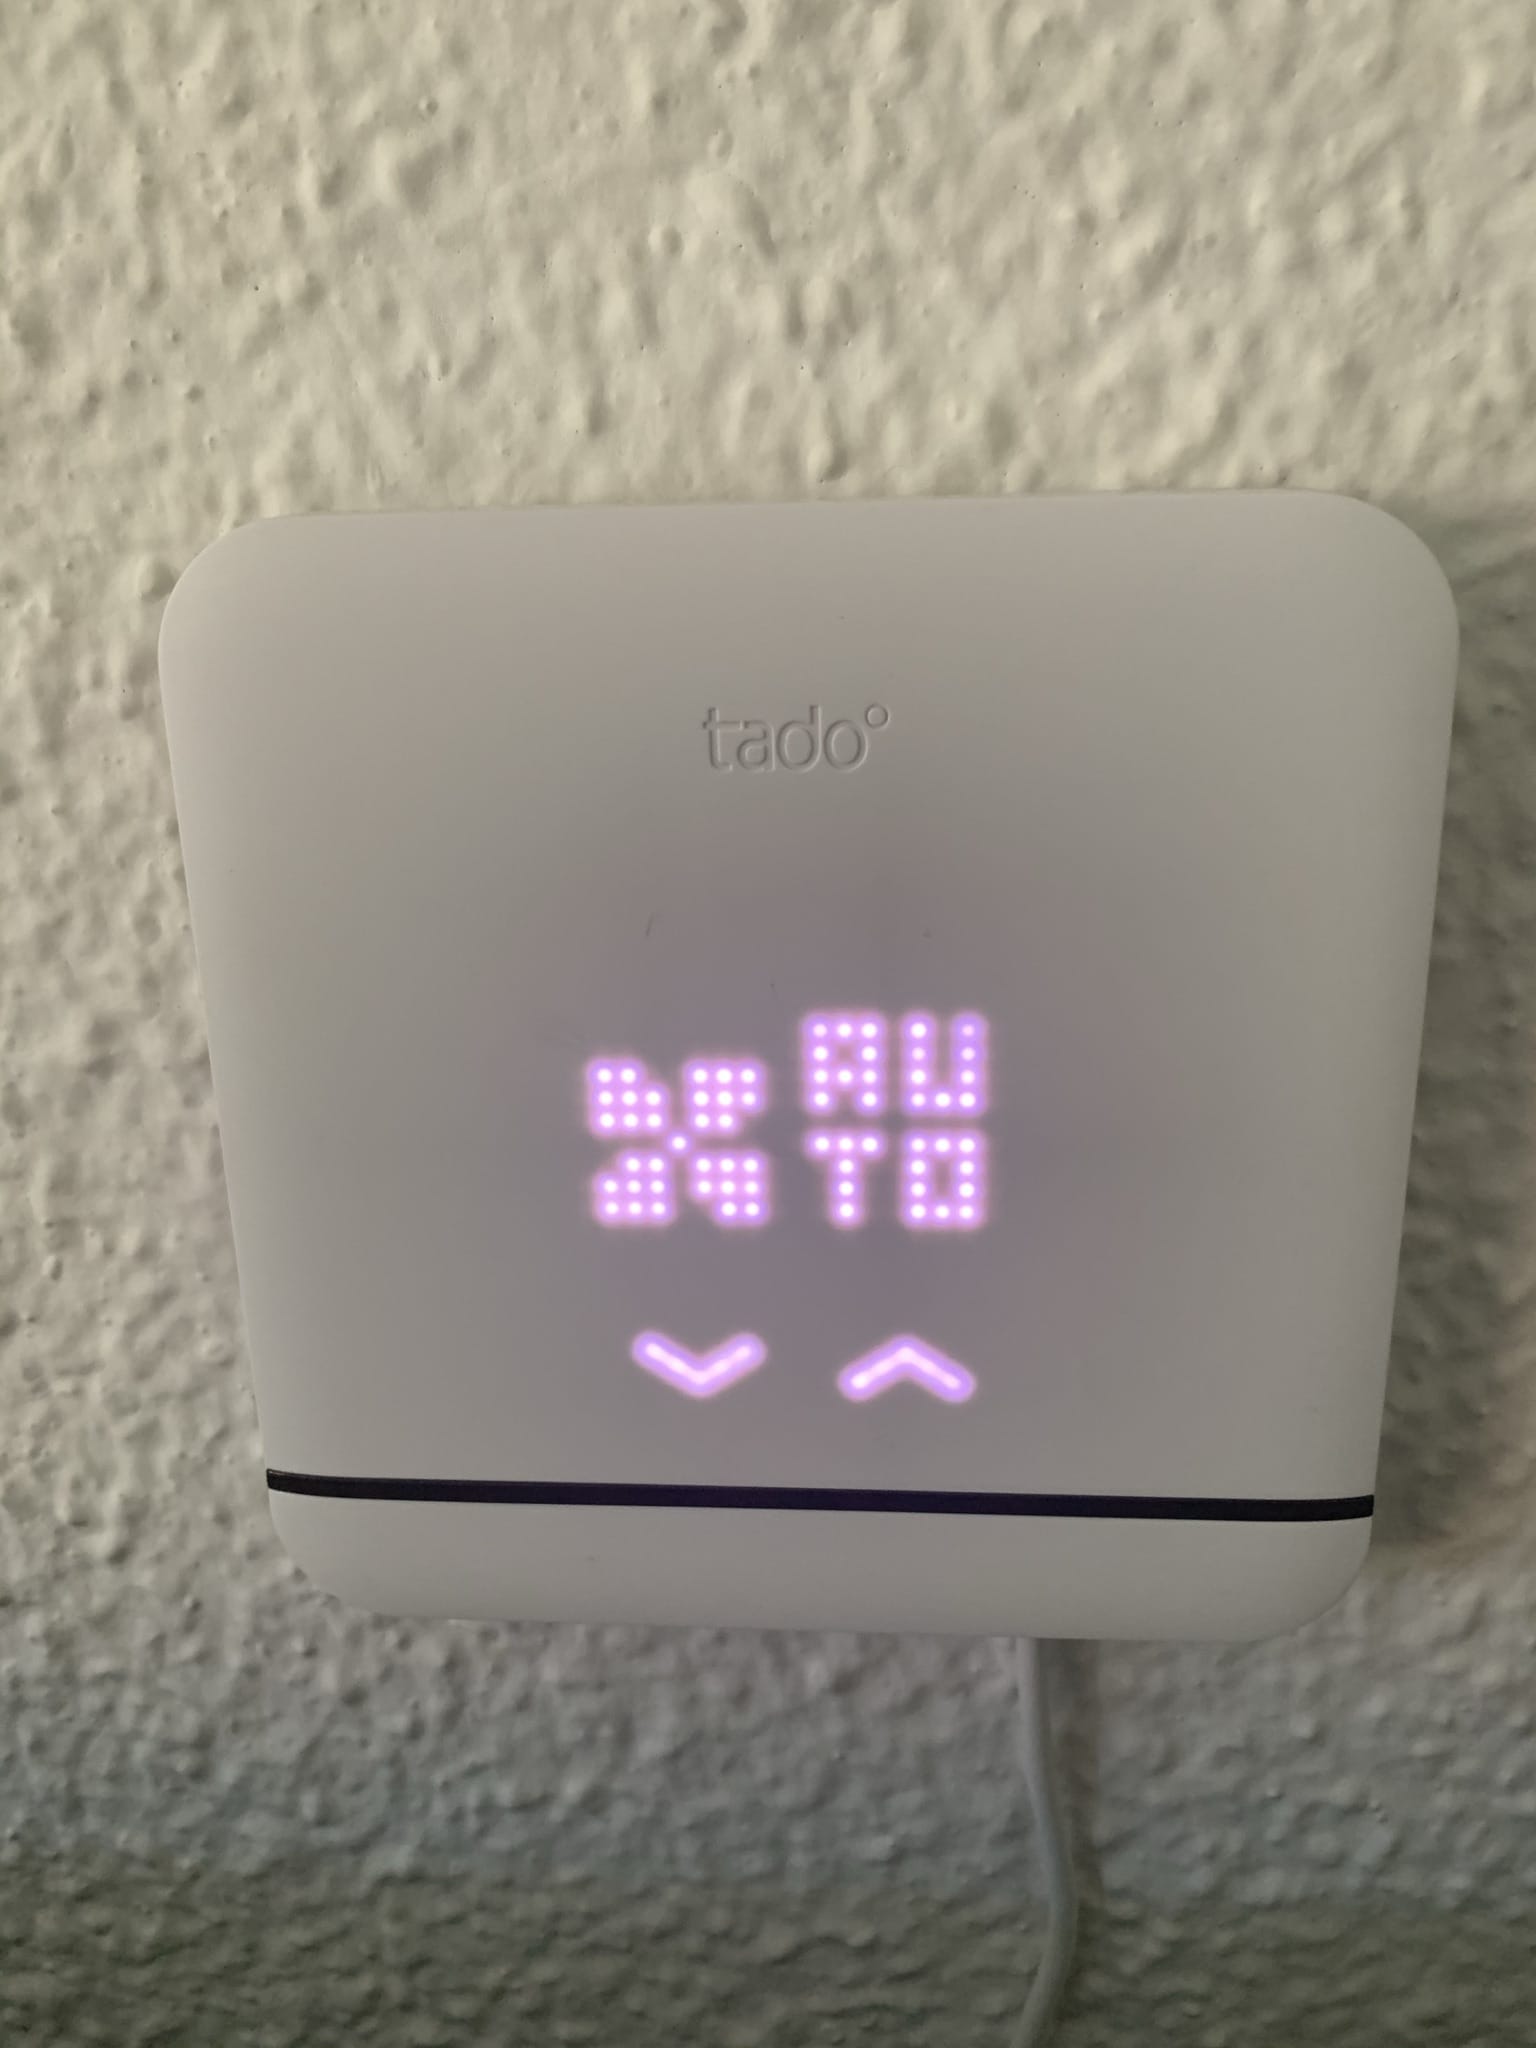
The presentation is really, really good—it practically blends into any environment and outshines any other little screen or control panel we might have on the wall, like the one for central heating, an alarm, or any similar device. Also, the little screen is touch-enabled, so if you have guests over, or don’t have your phone handy, or simply walk by and want to change the temperature or turn on the unit manually, you can do so without any issues. That said, the screen is capacitive and you need to press it to be detected and change values—don’t expect it to be like the screens on today’s phones. This is probably one of the things that will improve in the next model.
Presentación Tado v3+
Tado v3+ pantalla táctil
Elección de temperatura de forma táctil en Tado v3+
Cambio del modo de forma táctil en Tado v3+
Another thing that doesn’t quite convince me is the cabling. I’d like it to run on batteries, so I could place it anywhere on the wall without needing a nearby outlet. Yes, the cable is USB, so if you have an outlet you can plug it straight into the mains, but you could also connect it to any other device that’s always powered on and has a USB port (in my case it’s connected to the ISP’s router), but remember that it needs a direct line of sight to the air conditioning unit to interact with it, so you’ll have to think about where to place it.
That said, mounting it on the wall is super simple with the double-sided tape that’s already included. The cable runs through a small notch in the chassis, so the whole device sits flush against the wall.
Setup
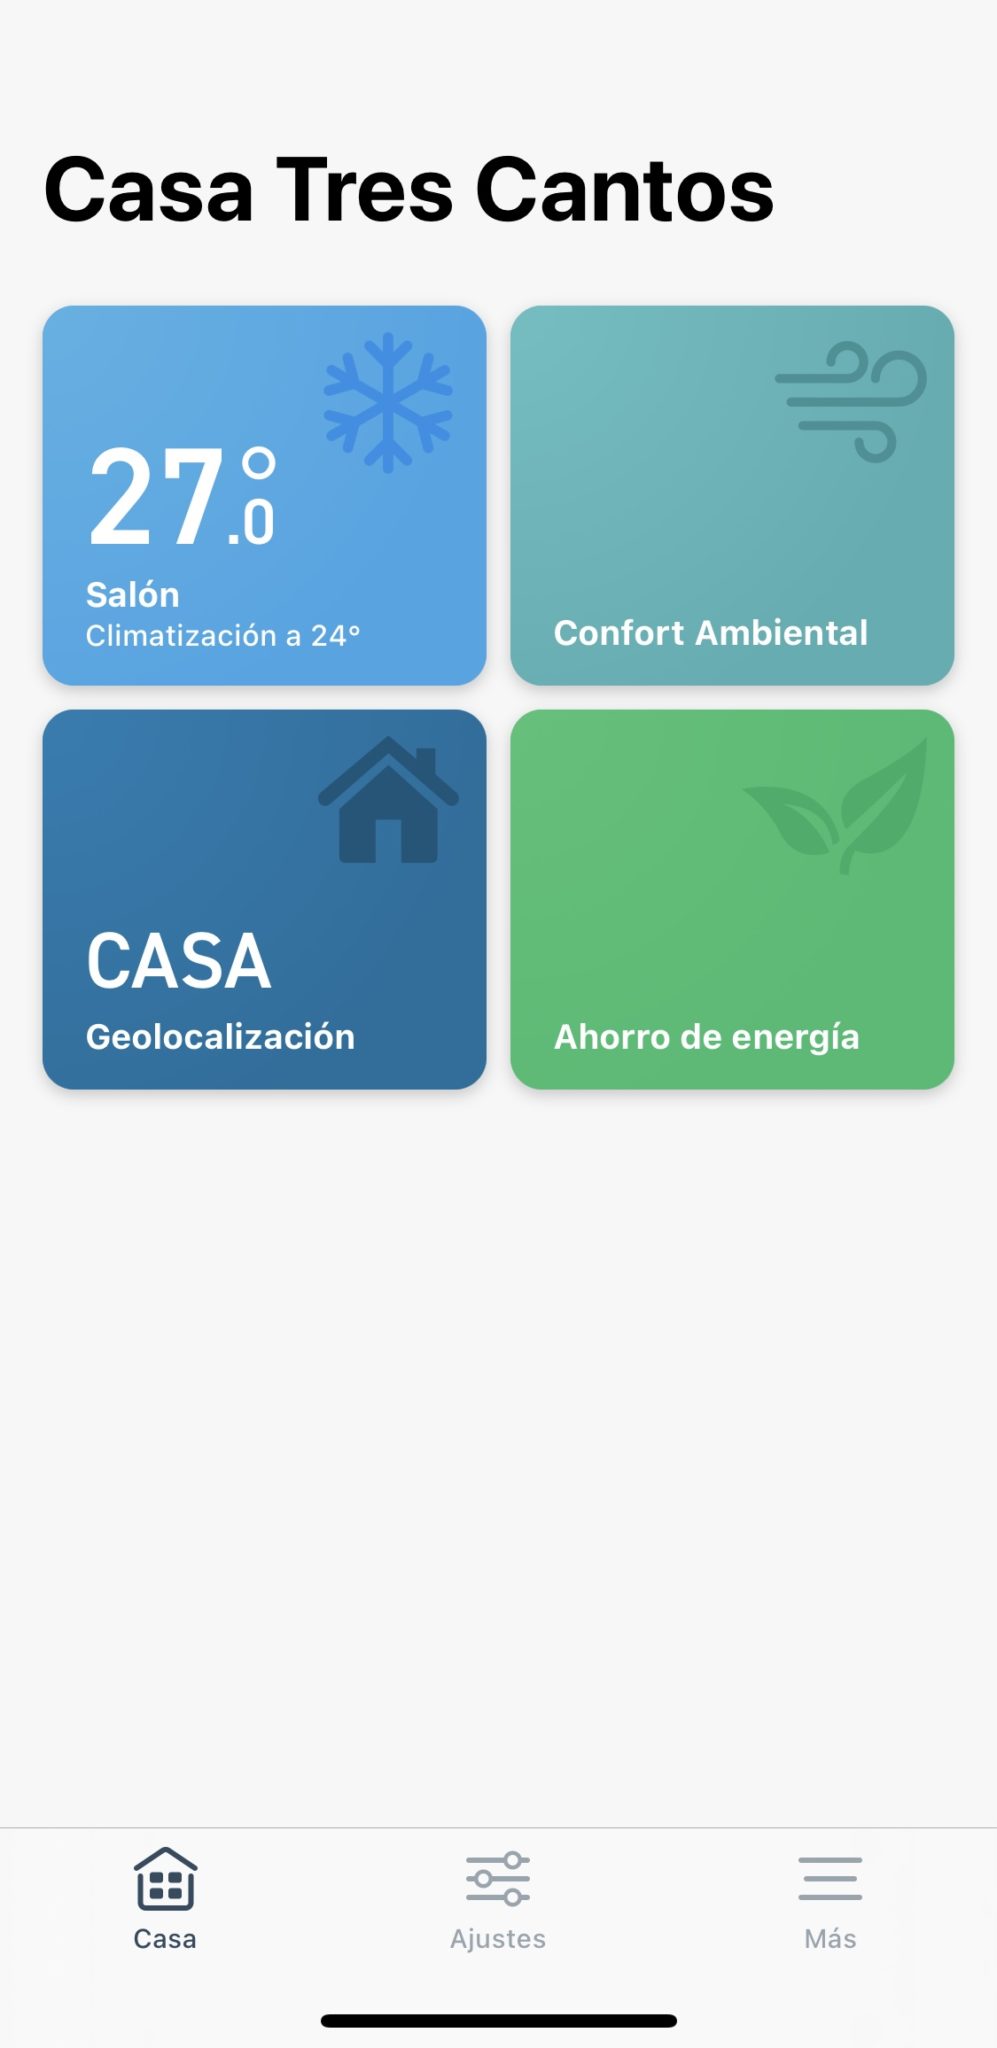
Once you start the installation process through the Tado app, it will ask for your air conditioning brand and the remote control model (in my case it was printed on the back)… and that’s it, it will send a few test commands to check that it has direct line of sight to the unit and can interact with it. That said, depending on your air conditioning model, it may show you several configuration schemes, so in some cases you’ll have to try a few until you find the right one. In my case, with a Fujitsu air conditioner, there were 5 different schemes, one of them recommended… well, the recommended one didn’t do absolutely anything other than make the air conditioner beep—it didn’t turn it on, off, or anything at all. I think I got it right on the third try.
Aplicación Tado
Tado v3+ App
Once it’s turned on and you’re nice and cool (or warm, if your air conditioner has a heat pump, since Tado can switch modes), then you can browse through Tado’s huge range of options and settings, some of them REALLY cool, like the ones I’ll detail below:
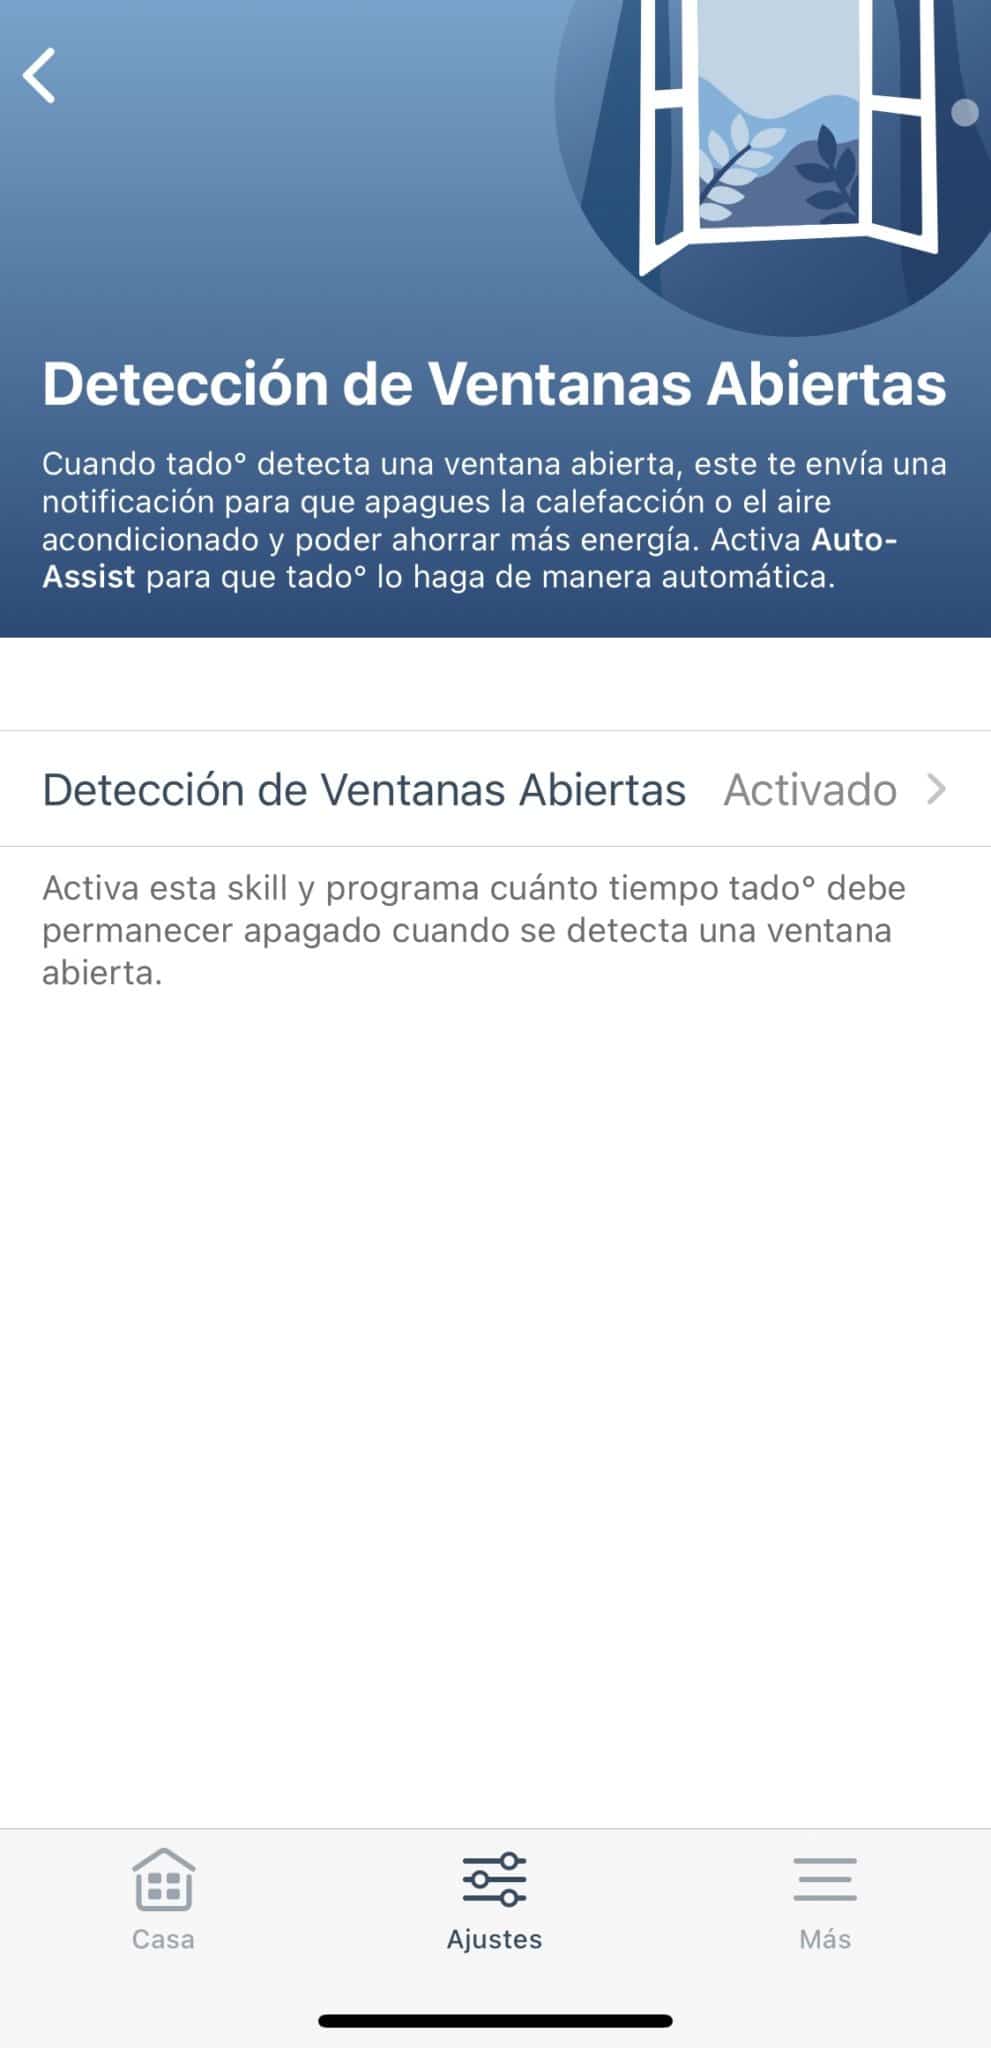
– Open window detection: It’s amazing how well this works, and not because it interacts with any other door/window sensor, but because the device detects sudden changes in the room’s temperature and humidity and asks if you’ve opened a window, letting you automate turning off the AC so you don’t waste electricity while a window is open. Even if you don’t want to automate it, it’ll ask you anyway whenever it detects this.
Detección de Ventana abierta en Tado v3+
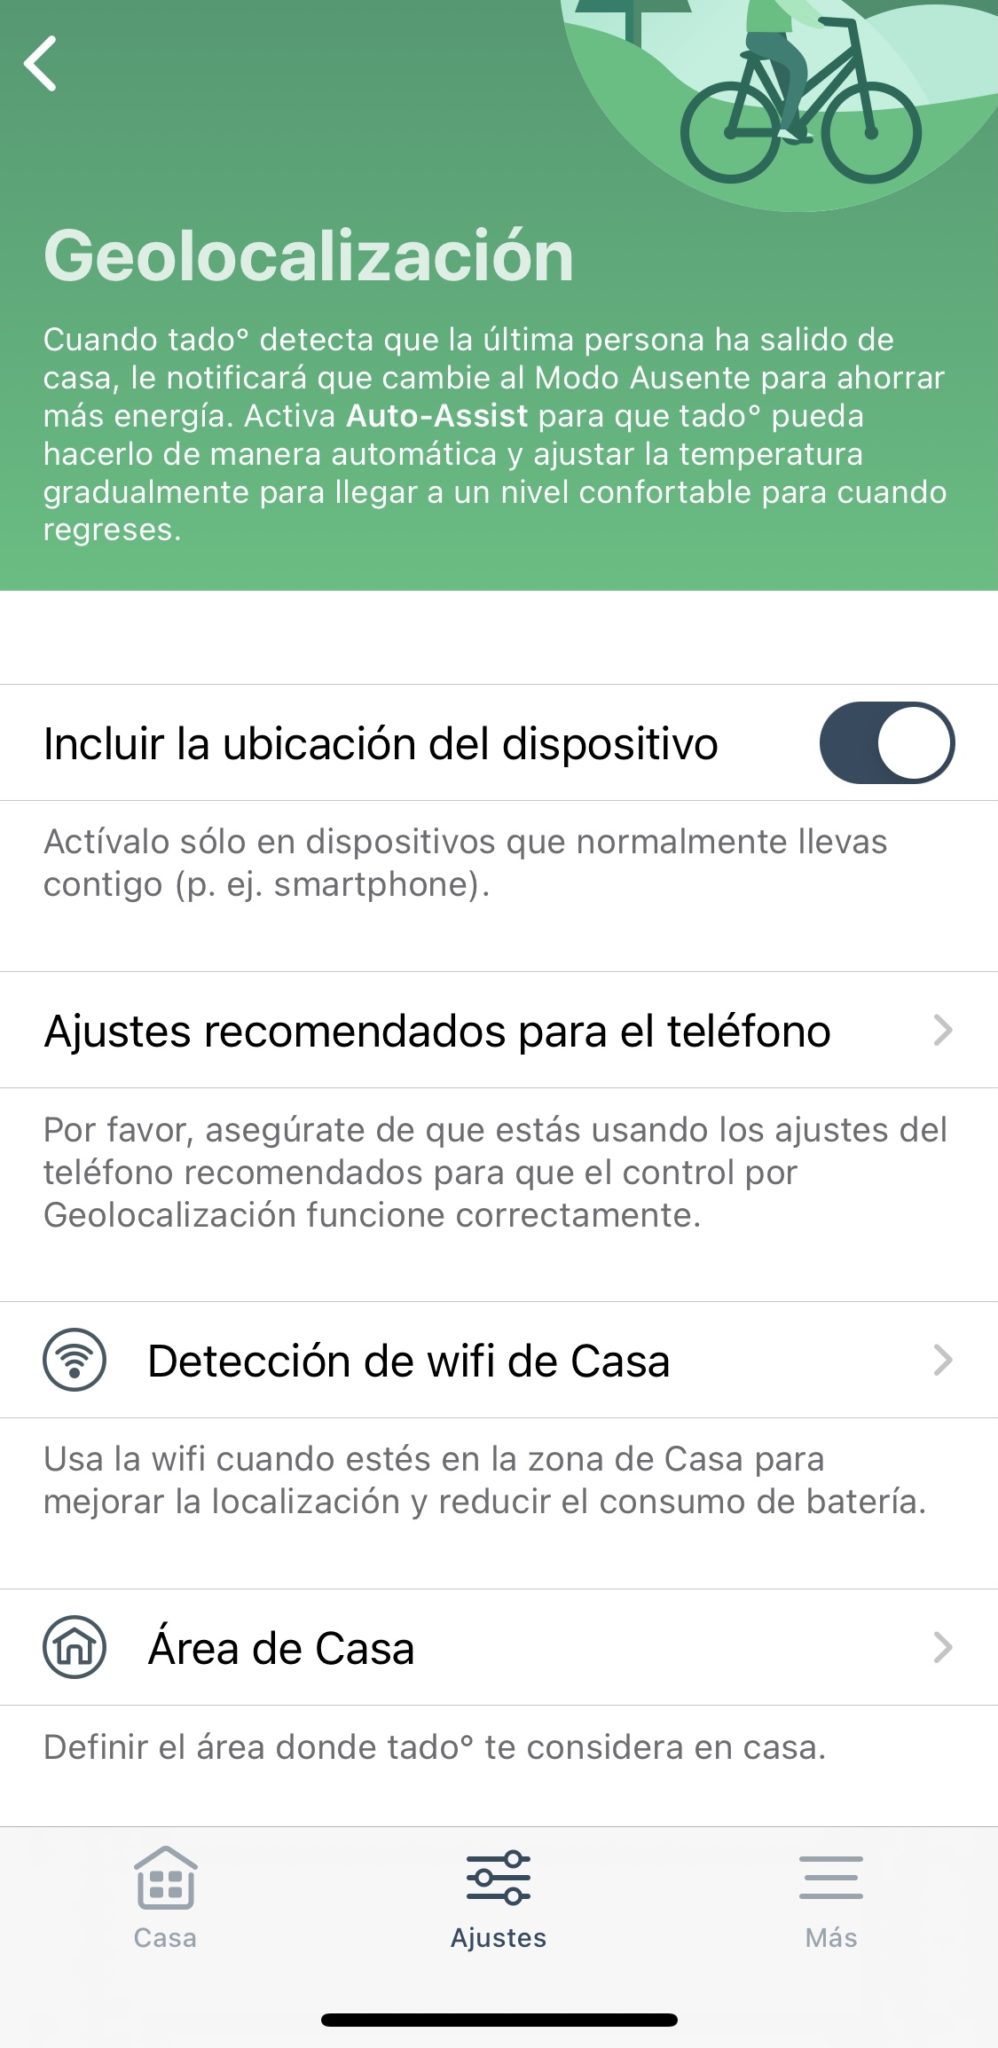
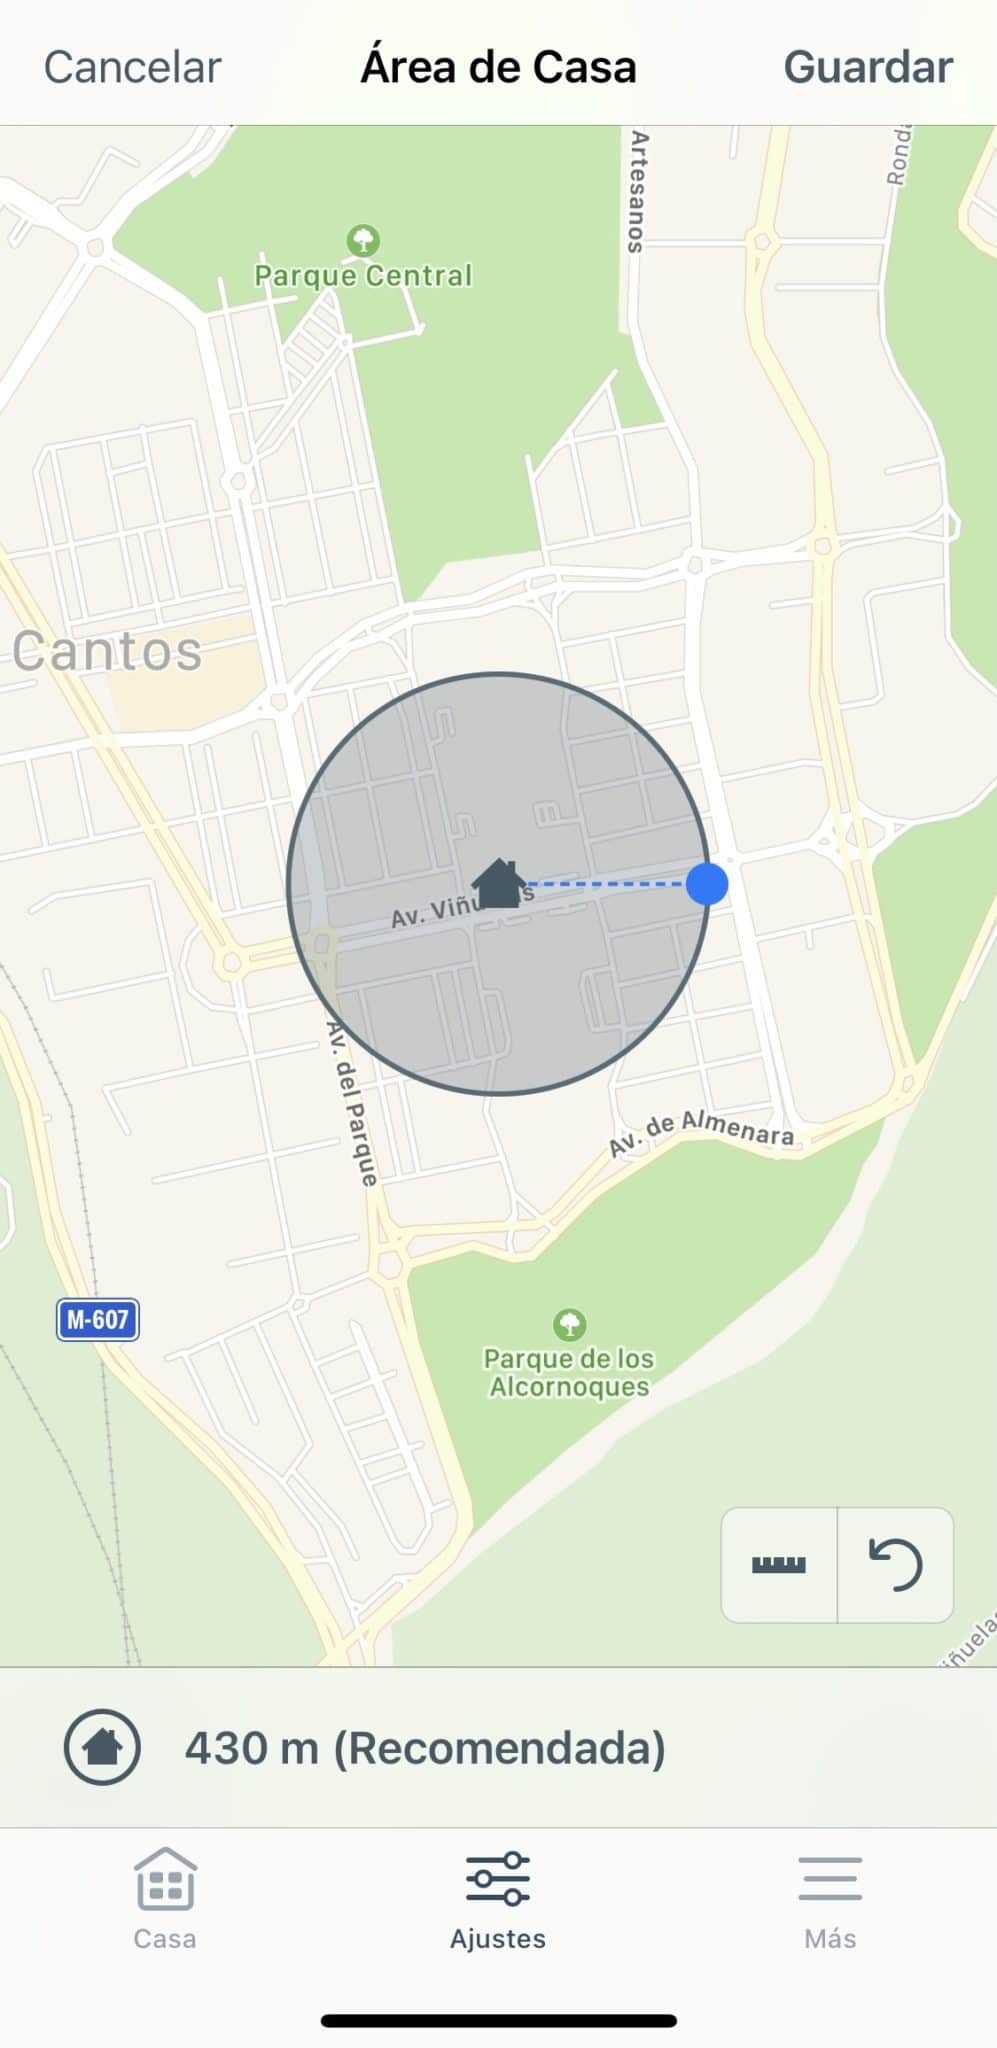
– Setting the distance to know you’re away from home!!!!: Apple should adopt this feature for Home, since we’ve noticed many times that you have to get quite far from your house before Apple considers you «away from home.» Instead, from the Tado app you can adjust this distance so the device knows exactly when to consider you away or not! What’s more, you can tell it that when you’re connected to your home wifi it should consider you «home,» but if you’re not connected it should consider you away. Pretty amazing—I really think Apple should take note of this:
Geolocalización en Tado v3+ Wifi
Geolocalización en Tado v3+
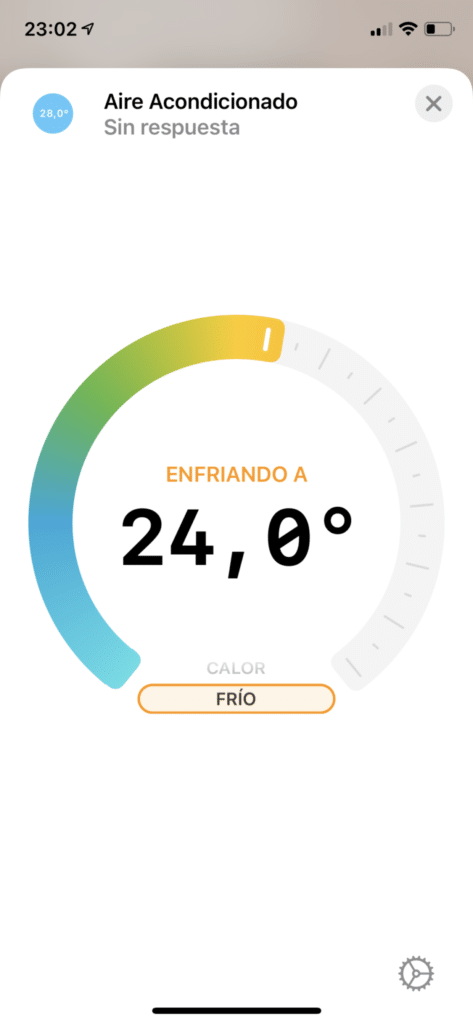
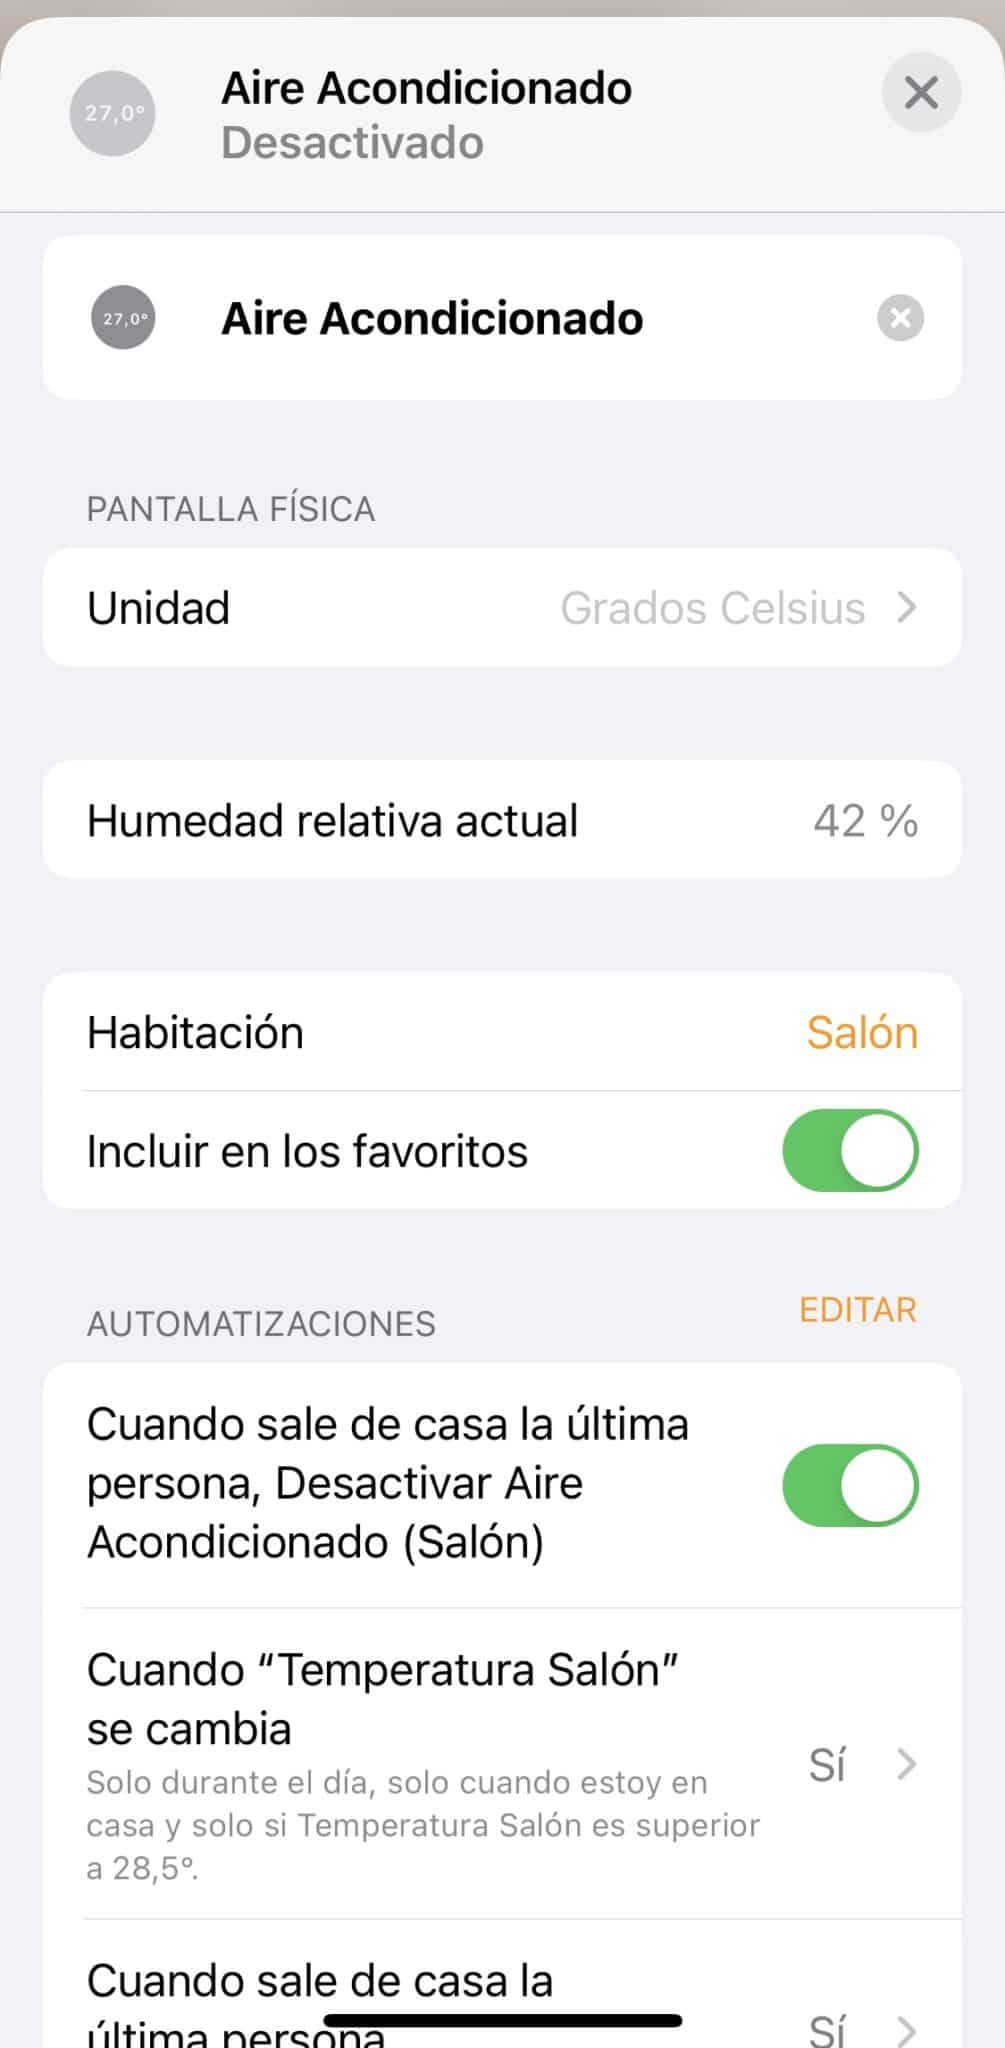
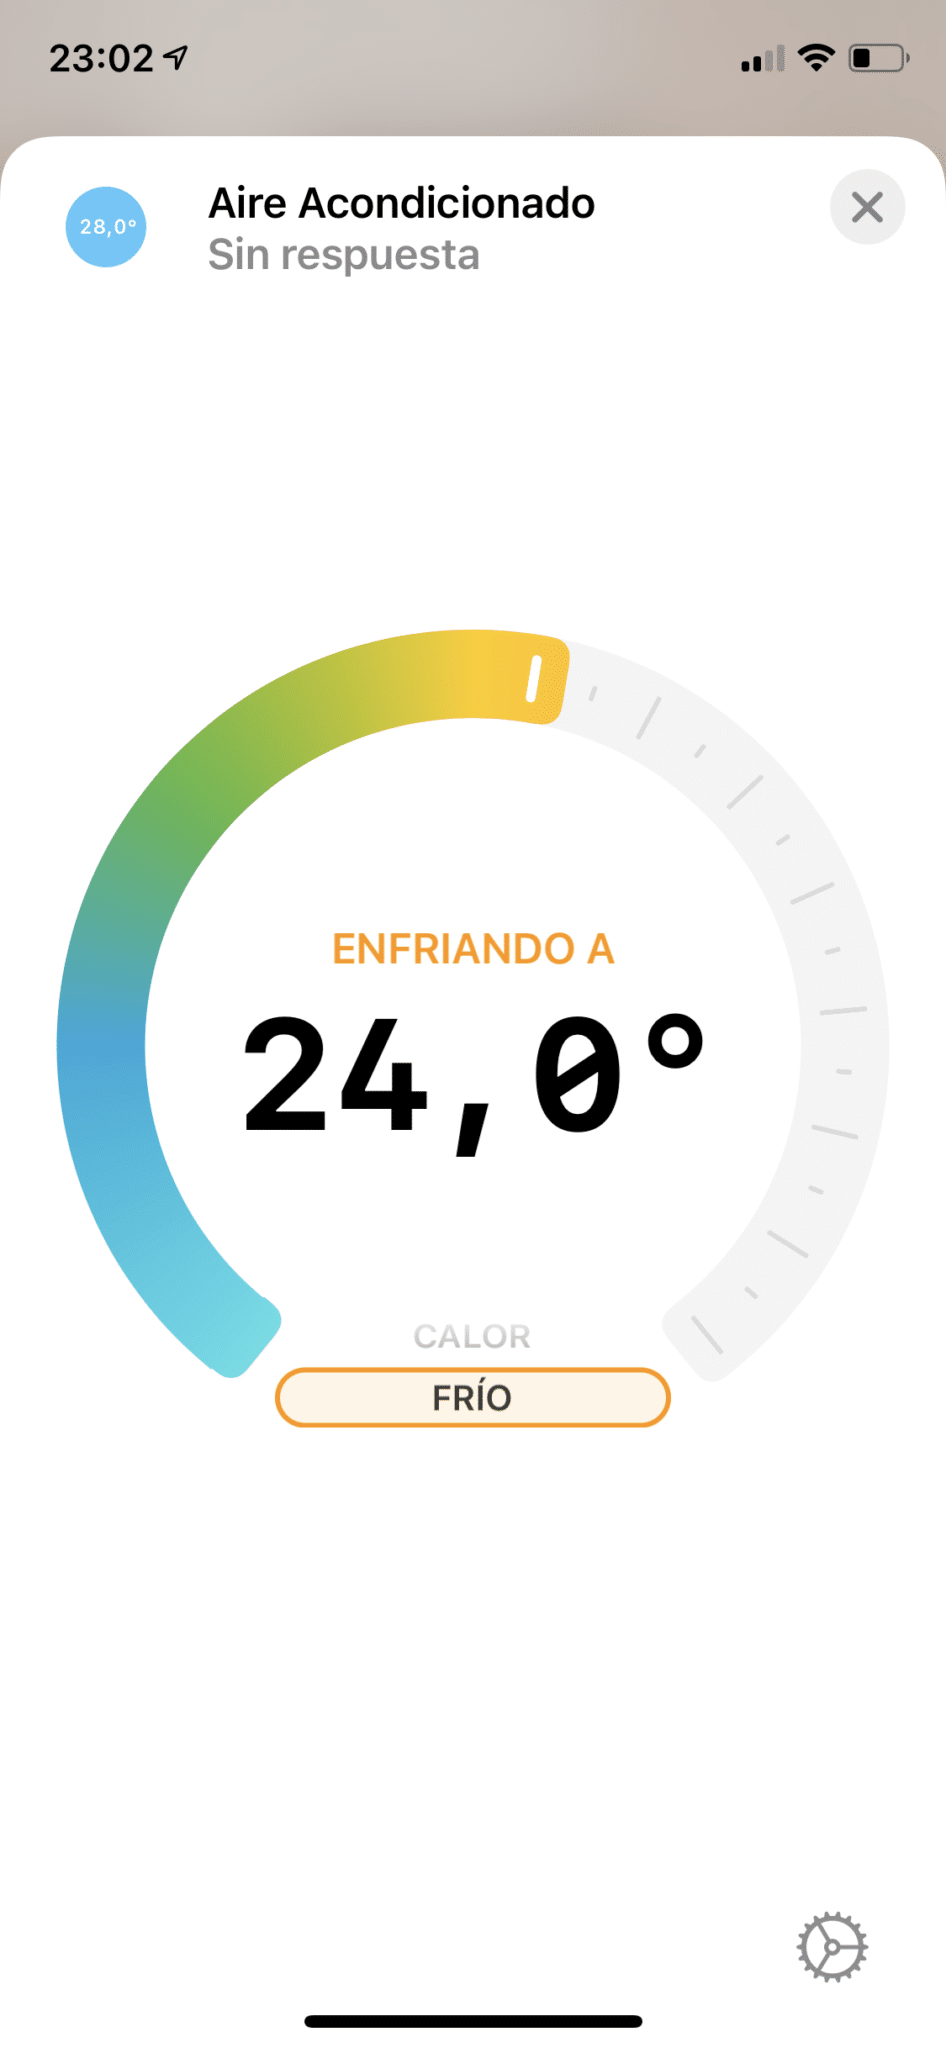
As for integration with HomeKit and Apple’s Home app, you don’t have to do anything at all—once it’s set up, it will automatically appear in the Home app and you’ll be able to control it from there as well as from the Tado app.
Configuración Tado v3+ Casa HomeKit
Aire Acondicionado en Casa HomeKit
Conclusion
If I’m being 100% honest (which I always am), don’t expect energy savings from buying the Tado, even though they «sell» it that way on their website. Supposedly you can automate it to be efficient and keep the house always at the right temperature, turning off when it’s not needed… but do you really need that from your air conditioning? Since I got the Tado, my AC has been running MUCH more often than before, with the resulting energy expense. Now, when I’m heading home and it’s hot out, it turns on automatically… that works great, but do I really need it kicking in 5 minutes before I arrive? These types of air conditioners take very little time to cool down a room, I don’t know… and the same goes for when I leave—it’s always nice for the house to be at the right temperature—but I’m not sure it’s worth having the AC turning on and off all day just so it’s ready when I get home at night.
But, if what you want is to be able to automate certain actions or control your air conditioning via voice assistant or from your phone, then it’s perfect. It works really, really well, and the touchscreen is a nice bonus that makes it more comfortable for guests or other people in the house who don’t want to deal with all this and would rather keep turning the AC on and off the usual way.
¿Necesitas ayuda con tu domótica?
Te ahorro tiempo, dinero y disgustos. Sesiones de consultoría desde 60€.